These homemade chewy granola bars are surprisingly easy to make and taste even better than the store-bought versions! Made with just 8 simple ingredients, they come together quickly and have that signature chewy texture everyone loves. What makes our recipe special is the ratio of oats to binder, which creates bars that hold together well without being too sticky or too crumbly. They’re customizable with your favorite mix-ins, help you save money, and taste fresher than anything from the store!
Recently my kiddo has been requesting Quaker Chewy granola bars after having them at daycare and some playdates. While I’m all for easy grab-and-go snacks for lunchboxes (whether they’re store-bought or homemade snacks), I’ve always found those bars to taste a bit stale, and the ingredient list is pretty darn long. Plus, buying granola bars every week can really add up! I tried Annie’s for a cleaner ingredient list, but was told “there wasn’t enough chocolate,” so those didn’t make the cut. Kirkland brand was also deemed unworthy. So I decided to try making a homemade version to see if we could create something even better.
So I set on a quest to make a BETTER version of chewy bars at home, and honestly, we NAILED IT. My kiddo and husband have slammed every pan I’ve made! They love them, and I love how easy they are to make and that I know what’s in them. Eight easy to find ingredients that you can pronounce too, yes please! These have become a staple in our house, and I’m making at least one batch of these every week now. They’re great for lunchboxes, after-school snacks, a quick grab-and-go breakfast, or when you just need a little something to tide you over!
Why You’ll Love These Homemade Chewy Granola Bars
Easy to make. Mix, press, cool, and cut. Just 8 ingredients and about 10-minutes of hands-on time is needed to make these, and no baking required.
Taste better and save money. These taste so much fresher than store-bought and cost less per bar.
Easy to customize. Use mini chocolate chips as noted, skip them for a honey-oat style bar, or try whatever mix-ins you love!
Chewy Granola Bar Recipe Ingredients

- Quick-cook oats. Form the base of the bars and give them that classic chewy granola bar texture.
- Puffed rice cereal. Adds lightness and a bit of crunch (we use an organic brown rice variety).
- Salted butter. Part of the binder that holds everything together.
- Brown sugar. Adds sweetness and helps create the chewy texture. We’ve used both light and dark brown sugars and have enjoyed the results with either.
- Honey. Works with the butter and sugar to create the binder that holds the bars together while also adding natural sweetness.
- Salt. Just a dash to balance the sweetness and enhance all the other flavors.
- Vanilla extract. Adds warmth and depth of flavor.
- Mini chocolate chips. The classic mix-in that makes these like the Quaker bars.
You’ll find complete ingredient measurements and all recipe details in the recipe card at the bottom of the page.
How to Make Homemade Granola Bars
Prep the pan. Lightly grease an 8×8 (or 9×9) square baking pan with non-stick cooking spray, then line with parchment paper and set aside.

Mix the dry ingredients. In a large mixing bowl, stir together the oats and puffed rice cereal. Set aside.

Make the binder. Add the butter, brown sugar, honey, and salt to a small saucepan and bring to a low boil over medium-high heat.

Reduce the heat to medium-low and simmer the mixture until the sugar dissolves (about 2 minutes).

Add vanilla. Remove the mixture from the heat and stir in the vanilla extract.

Combine the binder with the oat mixture. Pour the binder mixture over the dry ingredients in the mixing bowl.

And stir well to ensure everything is well coated (make sure there aren’t any dry pockets of oats and crispy rice cereal!).

Transfer and press into the pan. Transfer the coated oat mixture to the prepared pan and press it into an even layer, tightly compacting it. Don’t be afraid to use a little muscle here! If you press too gently, the bars will fall apart when you try to pick them up.

Top with chocolate chips. Sprinkle the top of the granola bars with the mini chocolate chips and gently press them into the oat mixture.

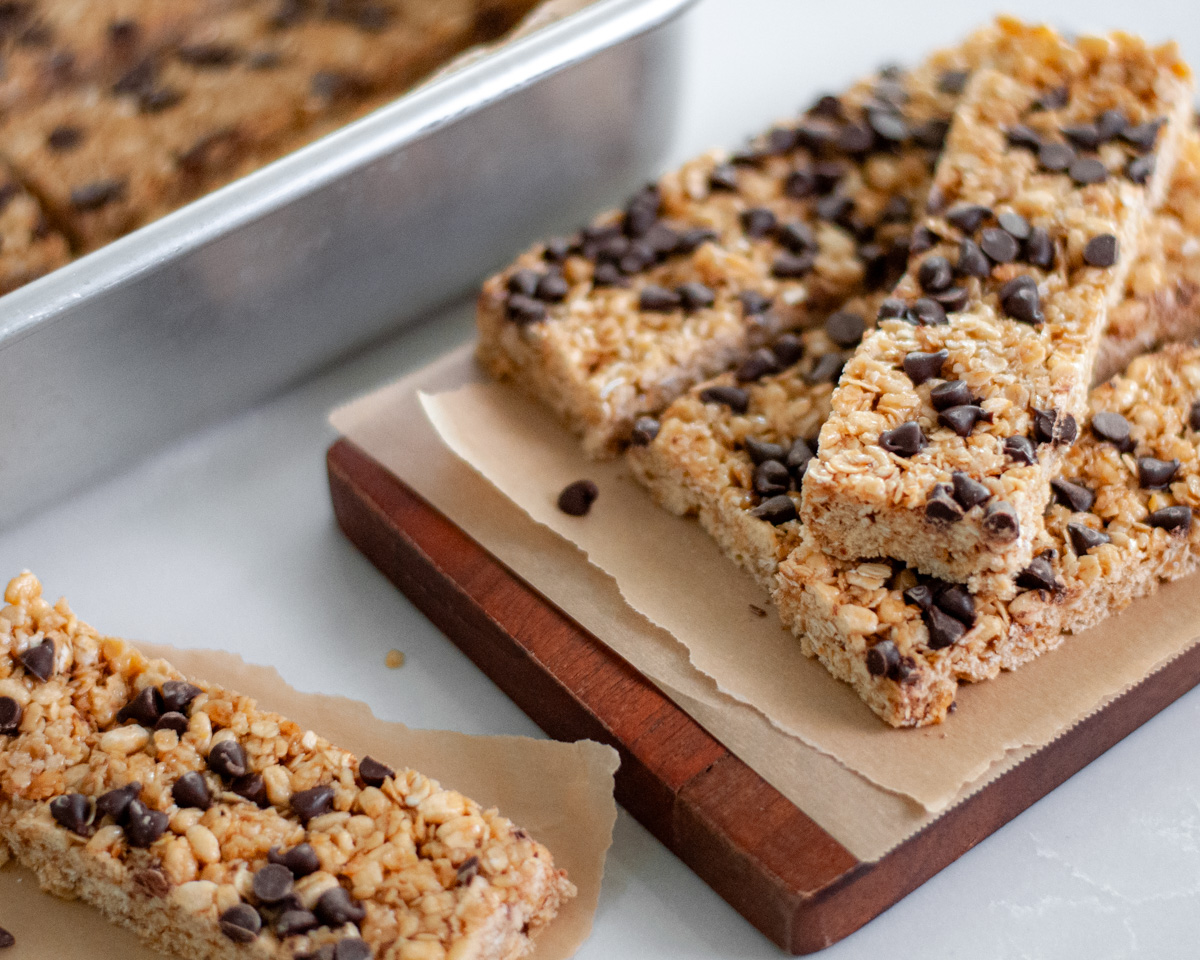
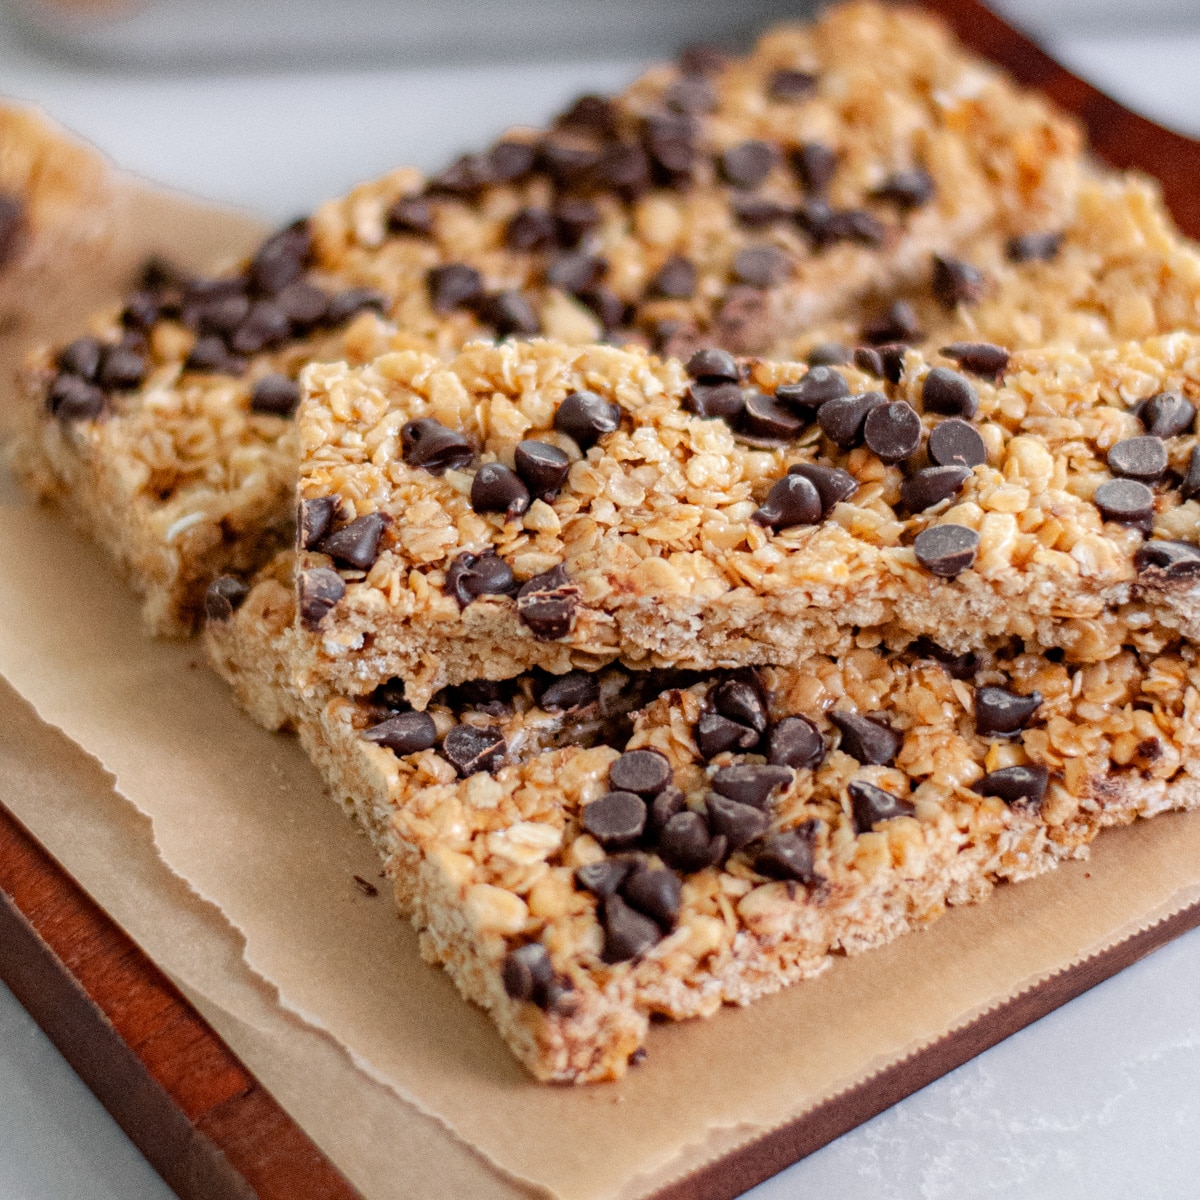
Cool completely before cutting. Allow the granola bars to cool in the pan at room temperature for at least 1 hour before slicing (2 to 3 hours if you can wait!). This time is crucial for the bars to set up properly. Once cooled, cut into 12 bars (option to lift the parchment paper / the granola bar slab out of the pan prior to slicing if desired).
Chewy Granola Bars Recipe Variations
- Use rolled oats instead of quick-cook. Just note that this will affect the texture! Rolled oats will make the bars much chewier and thicker than quick-cook oats.
- Try different mix-ins. Swap the mini chocolate chips for dried cranberries, raisins, chopped nuts, mini M&Ms, or any combination you like.
Possible Dietary Restrictions?
This recipe is already nut-free as written, making it great for school lunchboxes! This recipe is also gluten-free as written, however a few precautions should be taken if you’re serving this to someone with celiac. Be sure to verify the puffed rice cereal, oats, and chocolate chips you’re using are certified gluten free to be safe.
Expert Tips for Making Easy Homemade Granola Bars
Press firmly into the pan. This step is important! You really need to compact the mixture tightly, or the bars will crumble and fall apart (they’ll still taste great, just be harder to eat). We like to use a rubber scraper to press ours into the pan, but you can also use the back of a measuring cup or your hands to press the mixture down firmly.
Let them cool completely. I know it’s tempting to cut into them right away, but giving them at least an hour to cool and set up is essential. The longer they cool, the better they’ll hold together.
Line the pan with parchment paper. This makes it so much easier to remove the entire slab from the pan for cutting (and then you can simply package / store your bars so they’re easy to grab and go).
Store them properly. Keep the bars in an airtight container or sealed zip-top bag to maintain that chewy texture. If they’re exposed to air, they can dry out and become hard.
How to Store Chewy Chocolate Chip Granola Bars
Store the granola bars in an airtight container at room temperature for up to 1 week, or slice and pack them into individual zip-top bags for easy grab-and-go snacks. For longer storage, keep them in the refrigerator for up to 2 weeks.
These bars also freeze really well! Wrap individual bars in zip-top bags or plastic wrap, then store in a freezer-safe container for up to 3 months. Thaw at room temperature for about 30 minutes before eating, or enjoy them straight from the freezer for a firmer texture.
Chewy Granola Bar Recipe FAQs
This usually happens if the mixture wasn’t pressed firmly enough into the pan. You really need to compact it tightly! It can also happen if you try to cut them before they’ve cooled completely. Make sure to give them at least an hour to set up.
Absolutely! You can leave them plain or substitute with your favorite mix-ins like dried fruit, coconut flakes, or chopped nuts. The recipe works great with or without the chocolate chips.
Quick-cook oats (also called instant oats) are thinner and smaller than rolled oats, which means they create a softer, more tender texture. Rolled oats are thicker and will make the bars chewier and heartier. Both work, but quick-cook oats give you that classic store-bought granola bar texture.
I’ve put together a comprehensive guide on the different types of oats if you’d like to learn more about them and the best ways to use them!
Make sure your binder mixture is hot when you pour it over the oats, and stir really well to coat everything evenly. Then press the mixture very firmly into the pan. The combination of heat, thorough mixing, and firm pressing is what makes them stick together!
If this continues to be a problem for you, try adding a smidge more brown sugar (about 1 tablespoon) to your binder.
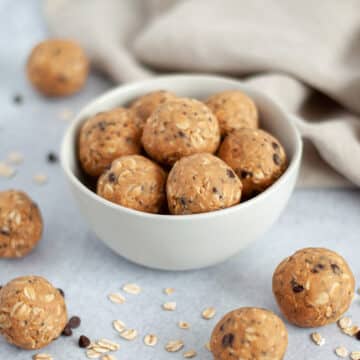
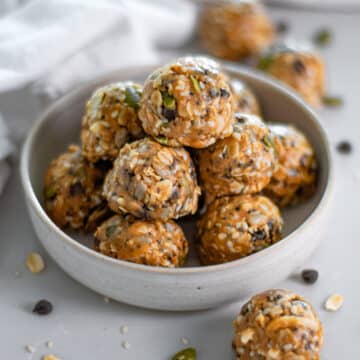
Love This Recipe? Try One of These Easy Snack Recipes Next!


Homemade Chewy Granola Bars
Ingredients
- 2 Cups quick-cook oats
- 1 Cup puffed rice cereal (we use an organic brown rice variety)
- ¼ Cup salted butter
- ¼ Cup light brown sugar
- ¼ Cup honey
- ⅛ teaspoon salt (a "dash")
- 1 teaspoon vanilla extract
- 3 Tablespoons mini chocolate chips
Instructions
- Prep. Lightly grease an 8×8 (or 9×9) square baking pan with non-stick cooking spray, then line with parchment paper and set aside.
- In a large mixing bowl, stir together the oats and cereal and set aside.2 Cups quick-cook oats1 Cup puffed rice cereal
- Make the binder. Add the butter, brown sugar, honey, and salt to a small saucepan and bring to a low boil over medium-high heat, then reduce the heat to medium-low and simmer the mixture until the sugar dissolves (about 2 minutes).¼ Cup salted butter¼ Cup light brown sugar¼ Cup honey⅛ teaspoon salt
- Remove the mixture from the heat and stir in the vanilla extract.1 teaspoon vanilla extract
- Make the oat mixture. Pour the binder mixture over the dry ingredients in the mixing bowl and stir well to ensure everything is well coated.
- Press into the pan. Transfer the coated oat mixture to the prepared pan and press it into an even layer, tightly compacting it. Sprinkle the top with the mini chocolate chips and gently press them into the oat mixture.*Note: if you press the oat mixture in too gently it won't stick together well / the bars will fall apart when picked up. Don't be afraid to use a little muscle here.3 Tablespoons mini chocolate chips
- Cool. Allow the granola bars to cool in the pan at room temperature for at least 1 hour prior to slicing (2-3 hours if you can).


Janene says
Hi, I couldn’t find the baking temperature and time. Thanks for sharing this recipe.
Meredith says
Hi Janene – this is a no bake recipe, so no baking temp or time needed.
David says
Feels like I’m right back in the cafeteria in elementary school!
Meredith says
love it!!!
Meredith says
My family is OBSESSED with these! So good.