
These marbled sugar cookies give you a cookie tray showstopper without much fuss, and the trick is that ours is a simple slice and bake. Most colorful cookies like this are cut out with cookie cutters, which means rolling, cutting, gathering up the scraps, and rolling all over again while the dough gets warmer and the colors get muddier. Instead, we layer the colored dough over plain dough, roll the whole thing into a log, and chill it. Then you slice and bake, and if you take your time cutting even slices they will all bake up the same. The cookie itself lands somewhere between a sugar cookie and a shortbread, wonderfully buttery, and the log will wait in your refrigerator or freezer until you are ready for it.

This recipe started with my daughter. Every year my mom and I pour over cookbooks and holiday food magazines, new and old, tabbing the recipes we want to try for our annual Christmas cookie baking marathon. Last year my daughter wanted in on the fun, which was the best news, and she promptly tabbed about 100 recipes across a couple of books. Most of the pages, basically. It was adorable, and we worked together to narrow things down. This was one of her must-try picks, from a Betty Crocker cookbook, and we all loved the colorful concept immediately.
The problem was the flavor. The original cookie looked great but did not taste like much of anything. They were fine, just nothing spectacular, which is a common fate for cookies built around a visual gimmick. So my mom and I went back to it. I have been baking for more than 30 years and have developed nearly 70 dessert recipes for this site, over 20 of them cookie recipes, so a cookie that is only pretty is not going to make our tray. We finished reworking it this fall, which is why the photos here are in oranges and reds instead of Christmas colors. Almond extract alongside the vanilla, powdered sugar worked in with the granulated, and cream of tartar for a little tang and chew. Now it is not your average sugar cookie, but it absolutely scratches that itch, and it has become one of the more unique Christmas cookies on our tray.
Why You’ll Love These Tie Dye Cookies
No cookie cutters, no rerolling. Slice the chilled log and bake. You will never fight a warm, sticky scrap of dough back into a ball again.
Lovely flavor. Two extracts, two sugars, and cream of tartar, because a cookie this fun to look at should be worth eating.
Change the colors for any occasion. Red and green for Christmas, oranges and reds for fall, soft pastels for Easter. Same dough every time.
The log waits for you. Make the dough days ahead and keep it in the refrigerator, or freeze it for weeks and bake a few cookies whenever you want them.
Ingredients for Marbled Sugar Cookies

- Salted butter. Softened. A full cup of it, and that high proportion of butter to flour is exactly why these taste like a blend of a sugar cookie and a shortbread. The salt in it also keeps everything from tasting flat.
- Granulated sugar. Sweetens the dough and gives the edges a little crispness where you want it.
- Powdered sugar. This is part of why these are more tender than a standard sugar cookie. The cornstarch in powdered sugar softens the crumb, and it dissolves completely into the butter for a smoother dough.
- Vanilla extract. The familiar base note.
- Almond extract. The addition that fixed this recipe. Just a half teaspoon alongside the vanilla, and it gives these that bakery sugar cookie flavor you cannot quite put your finger on.
- Egg. Binds the dough and gives the cookies structure so the slices hold their shape.
- Baking soda. Works with the cream of tartar to give the cookies a little lift.
- Cream of tartar. An acid, and it does two jobs. It reacts with the baking soda for lift, and it brings a subtle tang that keeps these from tasting one dimensional.
- All-purpose flour. The structure. Spoon it into your measuring cup and level it off rather than scooping from the bag, since packed flour will leave you with a dry, crumbly dough that cracks when you roll it.
- Gel food coloring. Gel rather than liquid. It colors the dough nicely and the colors hold up through baking, and this one matters enough that there is a whole section on it below.
All measurements and full directions in the recipe card at the bottom of this post.
Choosing Food Coloring for Colored Sugar Cookies
We recommend gel food coloring. I find it colors the dough really nicely, and the colors stay vibrant after baking instead of washing out in the oven.
There is a practical reason for using gel coloring too. Liquid food coloring is mostly water, so getting a deep color means adding a lot of it, and all that extra liquid loosens your dough. A slack dough is harder to roll, harder to layer, and harder to slice cleanly once it is chilled. Gel is concentrated, so a few drops get you a saturated color without changing the dough.
A couple of other things worth knowing as you color:
- Gel coloring stains, so work on parchment or wax paper rather than straight on your counter, and keep a damp towel nearby. Food safe gloves are not a bad idea either if you are particular about your hands.
- Streaks of white running through your colored dough are completely fine and adds to the marbled look you are going for, so you don’t need to knead / over mix-in the color in until the dough is a uniform color.
Helpful Equipment
A stand mixer or an electric hand mixer makes the creaming step easy, but you can always mix up your dough by hand if that’s your preference. You will also want a rolling pin and a sheet of wax paper or parchment for rolling the log and wrapping it for the refrigerator. A sharp knife matters more than you would think when it comes to slicing, since a dull blade drags through the chilled dough and squashes the log out of round. And grab a wire cooling rack, since these need to come off the hot pan before they overbake.
How to Make Swirled Sugar Cookies

Cream the butter, sugars, extracts, and egg. In a large mixing bowl, beat the softened butter, granulated sugar, powdered sugar, vanilla, almond extract, and egg with an electric hand mixer or a stand mixer fitted with the paddle attachment until well blended.

Add the dry ingredients. Slowly stir in the baking soda, cream of tartar, and flour until a dough forms.

Divide and color the dough. Split the dough into 3 roughly equal portions. Set one aside to stay plain, and put the other two in separate bowls. Add a few drops of gel coloring to each and mix it in, adding more as needed to reach the shade you want. Remember that a few streaks of white are a good thing.

Roll out the plain dough. On a lightly floured surface, roll the plain portion into a rectangle about 15 inches by 6 inches.

Scatter on the colored dough over the plain dough. Place small chunks of the colored doughs all over the plain rectangle, then gently flatten them into a roughly even layer. A rolling pin helps here if you want it.

Roll it into a log. Starting from the long side, roll the dough up tightly into a log. Transfer it to a sheet of wax paper, wrap it, and refrigerate for at least 1 hour. Two hours to overnight is better.
Preheat the oven. When you are ready to bake, heat the oven to 375°F.

Slice the log. Unwrap the dough, trim the ragged ends and either discard them or flatten them into a cookie for yourself. Slice the log into quarter inch rounds and place them about 2 inches apart on an ungreased cookie sheet.

Bake for 7 to 9 minutes. Pull them when the edges are just beginning to brown and set. Let them rest on the cookie sheet for a few minutes, then move them to a wire rack to cool completely.
Color Variations for Unique Christmas Cookies and Beyond
Go seasonal with your colors. This is the whole appeal. Oranges, reds, and yellows for fall, which is what we used in these photos. Soft pink, purple, and blue for Easter. Red, white, and blue for the Fourth of July. Black and orange for Halloween. Pink and red for Valentine’s Day. The dough never changes.
Use three colors instead of two. We keep one portion plain because the white is what makes the colors pop, but you can divide the dough into four portions and color three of them if you want a busier swirl.
Switch up the extract. Lemon extract in place of the almond gives these a completely different personality, and peppermint extract leans them hard into Christmas.
Add sprinkles to the outside. Roll the chilled log in nonpareils or sanding sugar before slicing and every cookie gets a sparkly edge.
Dip them in white chocolate. Half dipped and left to set on parchment, these go from fun to a little bit fancy.
Expert Tips for Tie Dye Cookies
Slice them all the same thickness. This is the most important tip in the whole post. Thin slices overbake while thick ones are still underdone, and since they are all on the same pan, you only get one bake time. Quarter inch, as consistently as you can manage.
Chill the log properly. One hour is the minimum, and two to overnight is where you want to be. A log that is not cold enough will squash flat on one side as you slice it, and your round cookies will come out as ovals.
Rotate the log as you slice. Even a well chilled log will start to flatten on whichever side is resting on the cutting board. Give it a quarter turn every several slices and it stays round.
Do not let them brown. Pull these when the edges are just barely starting to color. Overbaked cookies are hard and lose that bright, colorful swirl you worked for.
Keep the dough cool while you work. If your kitchen is warm and the dough gets soft and sticky while you are coloring or layering it, put it back in the refrigerator for 15 minutes. Nothing about this gets easier with warm dough.
How to Store Christmas Sugar Cookies
Store cooled cookies in an airtight container at room temperature for up to a week. Put a sheet of wax paper between the layers so they do not stick together, which matters a little more here than usual since you want those colored tops looking sharp.
The dough is where this recipe really shines for holiday baking. Wrapped tightly, the log keeps in the refrigerator for up to 3 days, so you can make it on a Monday and bake on a Wednesday without a second thought.
It also freezes beautifully for up to 3 months. Wrap the log in wax paper, then in plastic wrap or foil, and label it with the date and the baking temperature. You can slice and bake straight from frozen, which is the best part, just add a minute or two to the bake time. If the frozen log feels too hard to slice cleanly, let it sit on the counter for 10 or 15 minutes first.
Baked cookies freeze well too, for up to 3 months in an airtight container with wax paper between the layers. Thaw them at room temperature.

Build a Colorful Christmas Cookie Tray
These are made to sit on a tray alongside other cookies, and colorful Christmas cookies really pop next to the usual browns and chocolates. For a tray that’s full of colorful (and delicious) fun, lay these out with our Christmas m&m cookies or m&m cookie bars, our chocolate cherry crinkle cookies, and our chocolate peppermint kiss cookies. Then fill in the gaps with Christmas pretzel treats, which take almost no time and round out a tray nicely.
If you want the rest of our baking marathon lineup, our go-to recipes are our chewy triple ginger cookies, our pistachio shortbread cookies, our cardamom cookies, and our snappy turtle cookies, which is a vintage recipe that’s been my family’s tradition since I was a kid.
Tie Dye Sugar Cookies Recipe FAQs
You can, but I would not. I find gel colors the dough much more nicely and the colors stay vibrant through baking. Liquid coloring is also mostly water, so you need a lot of it to get a deep color, and that extra liquid makes the dough soft and hard to slice cleanly
The log flattened on one side, either because it was not chilled long enough or because it sat in one position the whole time you were slicing. Give it the full chill, and turn the log a quarter rotation every several slices as you work through it.
Yes, and this is one of the best things about this recipe. The wrapped log keeps in the refrigerator for up to 3 days and in the freezer for up to 3 months. You can slice and bake it frozen with just a minute or two added to the bake time.
Usually from overworking the dough. Every time you knead, reroll, or press the colored dough, the colors blend a little more. Mix the color in just until it is distributed, leave some white streaks, and handle the layered dough as little as you can before rolling it into the log.
Love This Recipe? Try One of These Colorful Christmas Cookies Recipes Next!
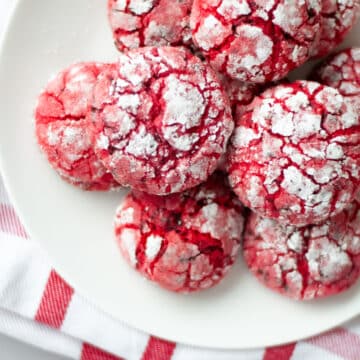
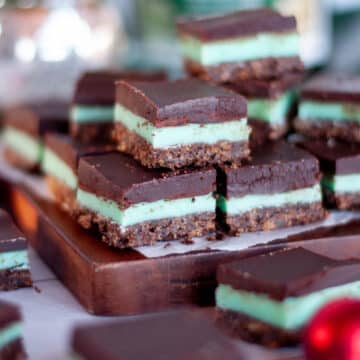
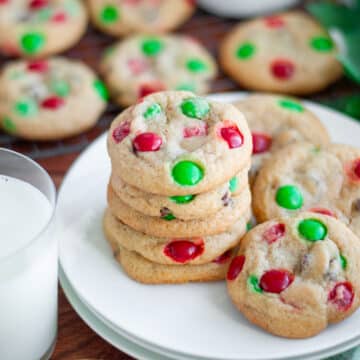

Still looking for more? I’ve put together a comprehensive list of over 60 easy Christmas treats you’ll love too!
Oh hey, did you make this one? ⭐⭐⭐⭐⭐
Drop a 5-star rating and leave me a comment below! It genuinely helps this little corner of the internet grow, and I read every single one. You can also tag me @ourlovelanguageisfood on Instagram (I love seeing your versions!). Want more recipes like this? Join my weekly newsletter and I’ll send them straight to you!
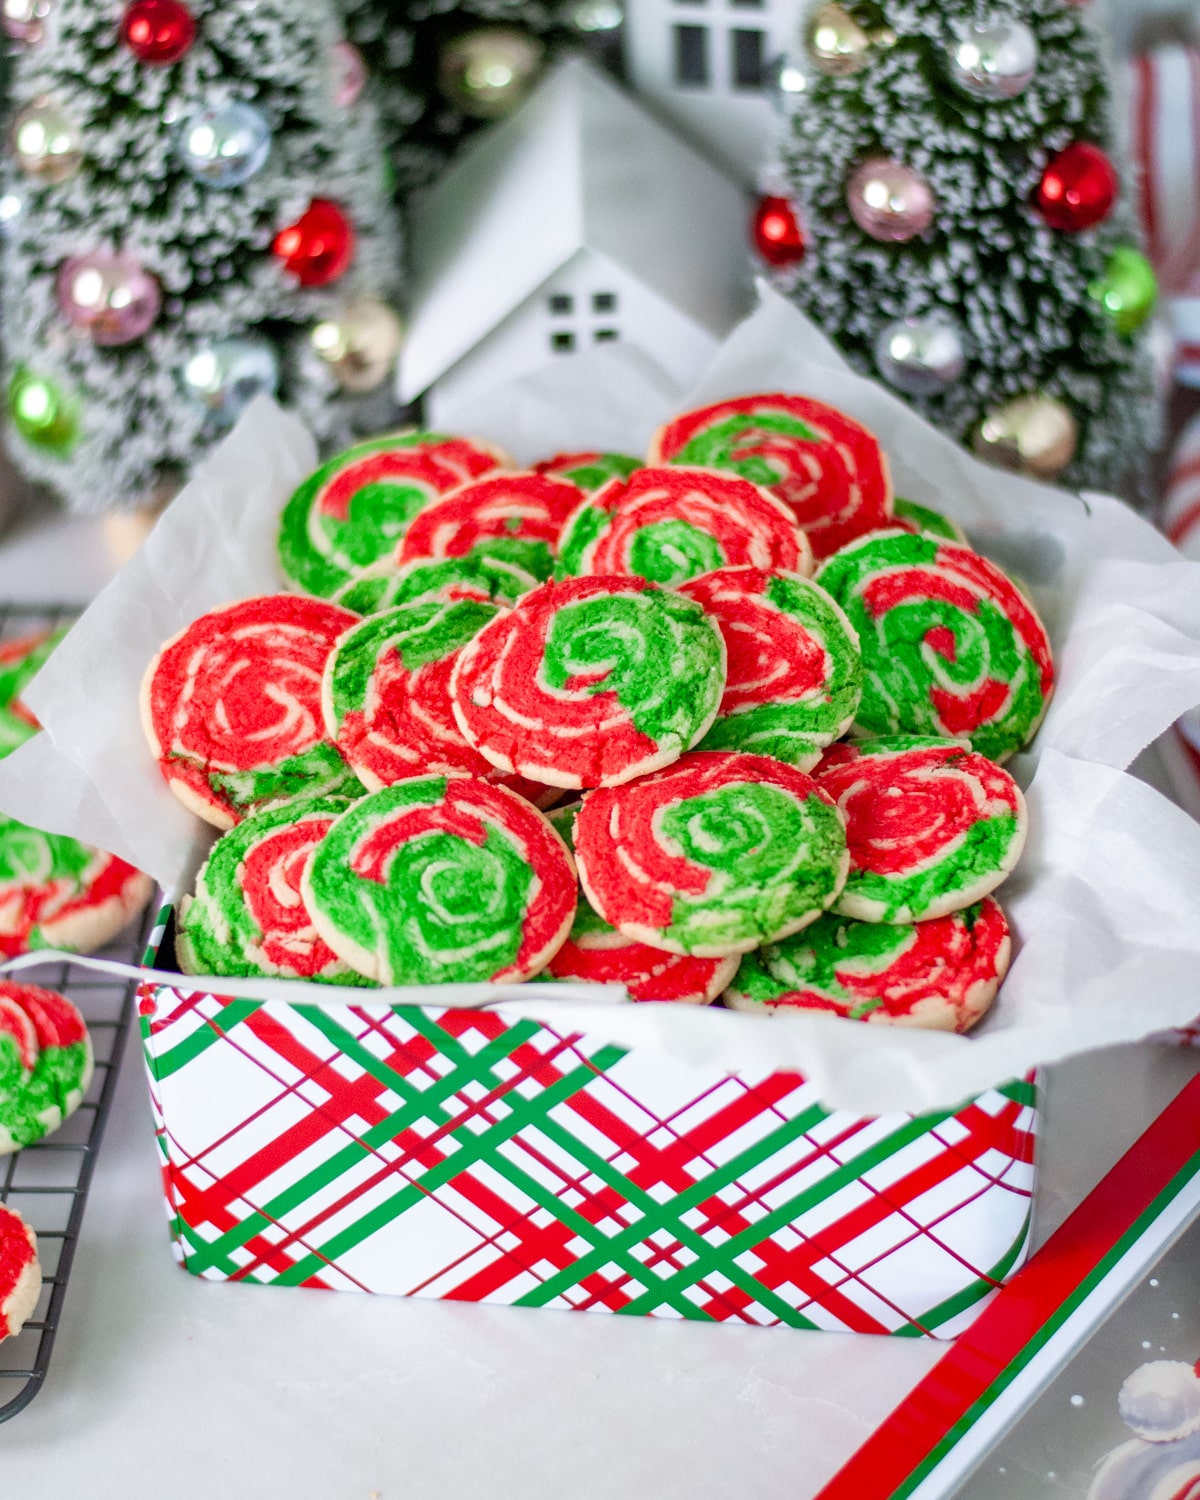
Marbled Slice and Bake Sugar Cookies
Equipment
- Electric Hand Mixer -OR- Stand Mixer with Paddle Attachment -OR- Wooden Spoon
- Large Mixing Bowl OR Stand Mixer Bowl
- Sharp Knife
Ingredients
- 1 Cup salted butter, softened
- ¾ Cup granulated sugar
- ¾ Cup powdered sugar
- 1 teaspoon vanilla extract
- ½ teaspoon almond extract
- 1 large egg
- 1 teaspoon baking soda
- 1 teaspoon cream of tartar
- 2 + ½ Cups all-purpose flour
- Red and green gel food coloring
Instructions
- In a large mixing bowl, beat together the butter, sugars, extracts, and egg with an electric hand mixer (or a stand mixer fitted with the paddle attachment) until well blended.1 Cup salted butter, softened¾ Cup granulated sugar¾ Cup powdered sugar1 teaspoon vanilla extract½ teaspoon almond extract1 large egg
- Slowly stir in the dry ingredients until a dough has formed.1 teaspoon baking soda1 teaspoon cream of tartar2 + ½ Cups all-purpose flour
- Divide the dough into 3 equal(ish) portions. Set 1 portion aside, and place the other 2 portions into 2 separate bowls to be colored. Add a few drops of gel food coloring to each bowl and mix it in, adding more as desired to reach the shade you want. *A few streaks of white in your colored doughs is ok!Red and green gel food coloring
- On a lightly floured surface, roll out the plain dough into a rectangle that’s about 15″ x 6″.
- Place small chunks of the colored doughs all over the rolled plain dough and gently flatten the colorful pieces into an even layer(ish). You can use a rolling pin to help if desired.
- Starting with the long side, tightly roll the dough into a log. Transfer to a sheet of wax paper and place in the fridge to cool and firm up for at least 1 hour (2 hours to overnight is best).
- When ready to bake, preheat the oven to 375°F.
- Unwrap the dough and trim the edges if necessary, discarding them (or flatten into a cookie). Slice the log into ¼″ slices and place them about 2″ apart on an ungreased cookie sheet.
- Bake for 7 to 9 minutes, until the edges are just beginning to brown and set up. Cool for a few minutes on the cookie sheet, then transfer to a wire rack to cool completely.
Notes
- Go seasonal with your colors. This is the whole appeal. Oranges, reds, and yellows for fall, which is what we used in these photos. Soft pink, purple, and blue for Easter. Red, white, and blue for the Fourth of July. Black and orange for Halloween. Pink and red for Valentine’s Day. The dough never changes.
- Use three colors instead of two. We keep one portion plain because the white is what makes the colors pop, but you can divide the dough into four portions and color three of them if you want a busier swirl.
- Switch up the extract. Lemon extract in place of the almond gives these a completely different personality, and peppermint extract leans them hard into Christmas.
- Add sprinkles to the outside. Roll the chilled log in nonpareils or sanding sugar before slicing and every cookie gets a sparkly edge.
- Dip them in white chocolate. Half dipped and left to set on parchment, these go from fun to a little bit fancy.

Danny says
Delicious cookies! Fun for kids too.
Meredith says
Glad to hear you enjoyed these Danny! And agree, the vibrant color is definitely fun for the kiddos too.
Meredith says
Vibrant and fun cookie for the holiday season!