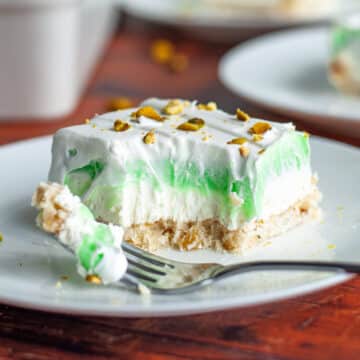
Chocolate mint bars are a simple cookie bar recipe perfect for chocolate mint lovers! A great dessert recipe for Christmas and St. Patrick’s Day because of the vibrant green color. Rich and decadent chocolate layers sandwich a lovely mint layer to create the perfect treat.
To say the Christmas cookie spread was massive at our family holiday gatherings growing up may be an understatement. My mom and all of my aunties are fantastic bakers and they all love to make lots of kinds of cookies to share with everyone. While some recipes came and went, a handful have been a standby for as long as I can remember, these chocolate mint squares made by my aunt Martha included.
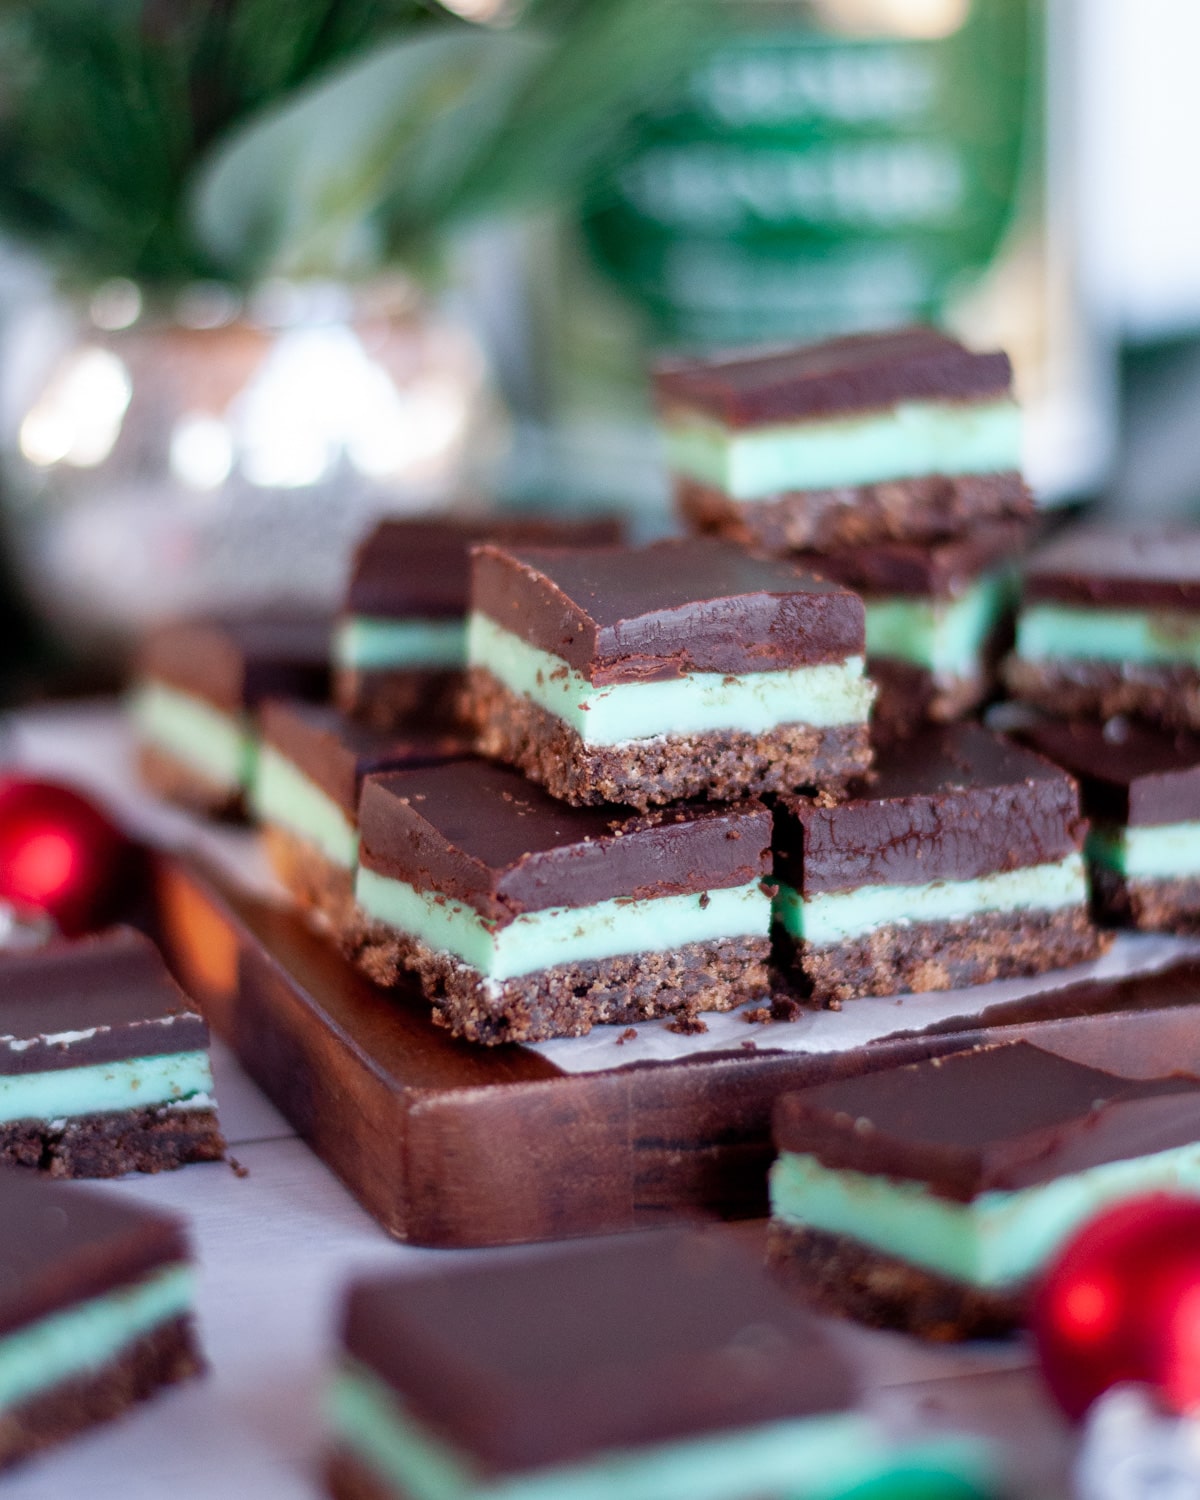
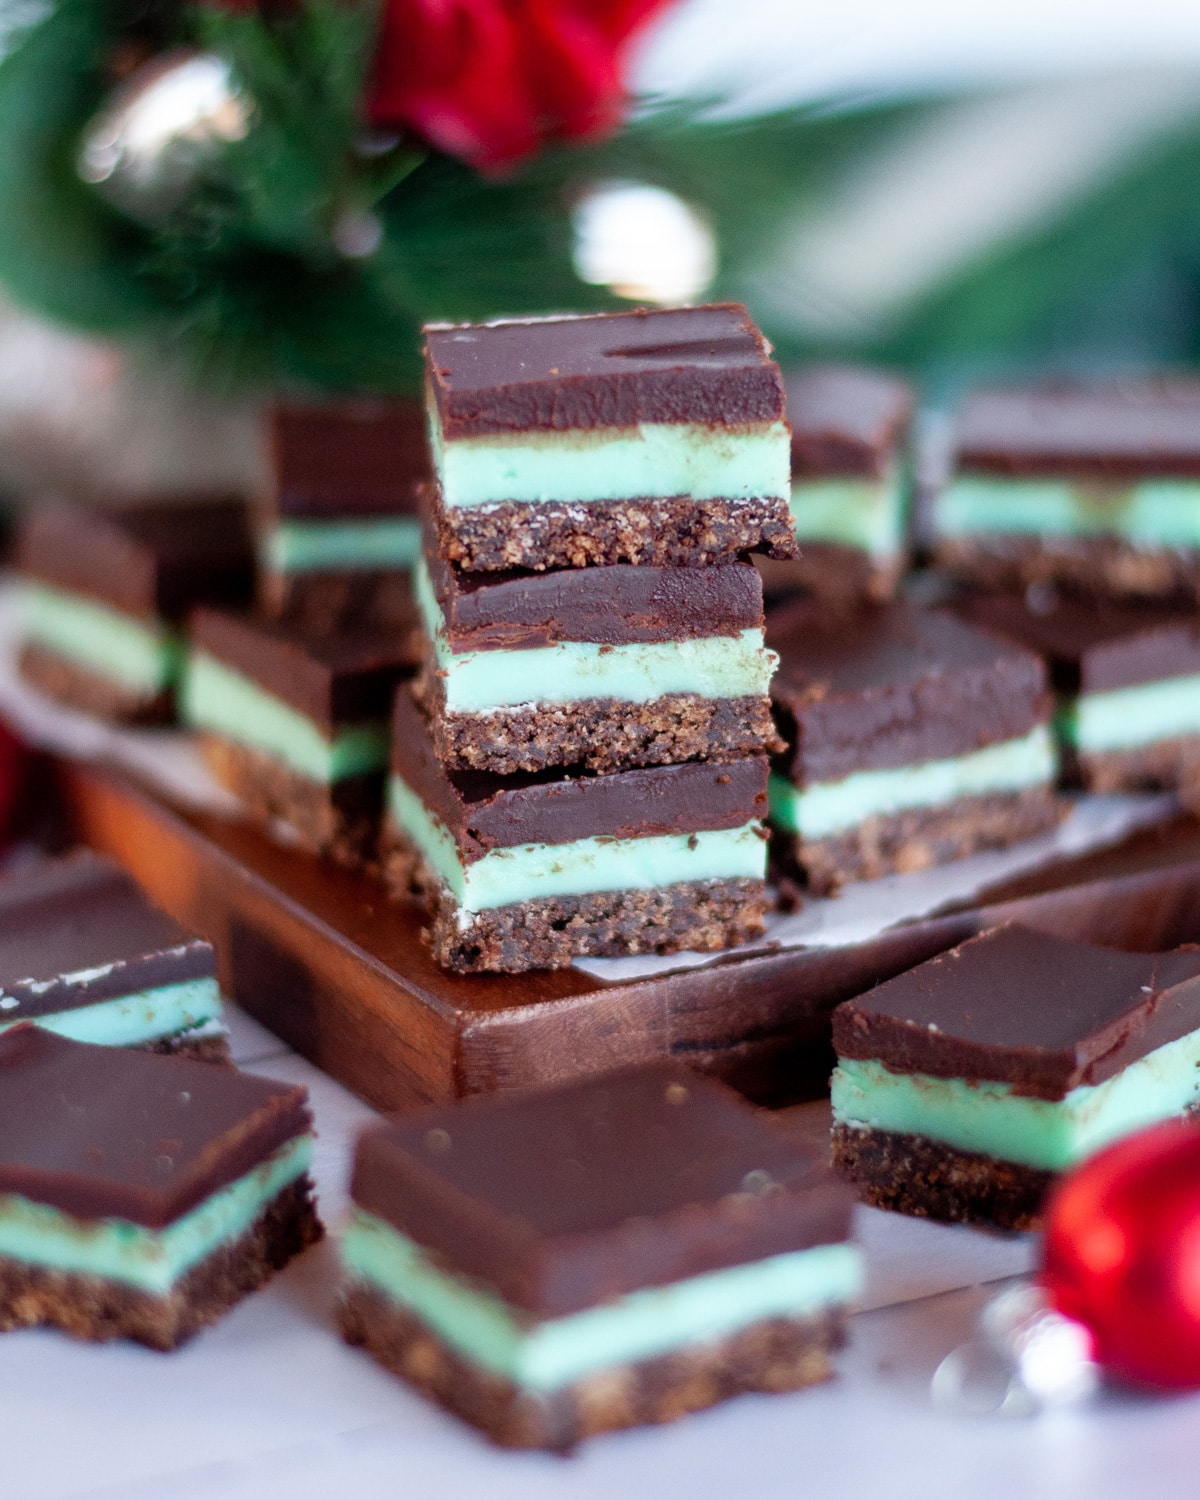
These beautiful little squares show 3 distinct layers making them a lovely addition to any holiday dessert spread. The rich chocolate and pop of mint has you coming back for more, and these are often one of the first treats to disappear every year.
If you’ve been looking for ideas for new Christmas desserts to bring to your holiday get-together, or want to wow your friends at your next Christmas cookie exchange, make these delicious chocolate mint layer bars!
Create the ultimate holiday cookie tray by pairing these chocolate mint bars with Chocolate Cherry Crinkle Cookies, Snickerdoodles Without Cream of Tartar, Chewy Triple Ginger Cookies, and White Chocolate Cranberry Oat Cookies. All the seasonal favorites on one tray.
Why You’ll Love This Recipe
Easy and impressive! These beautiful three layered bars are eye-catching on any cookie spread. The hardest part is being patient as each layer chills!
Delicious seasonal flavor. Is there anything better than chocolate and mint at Christmastime? These creme de menthe bars have the same vibe as an Andes mint candy.
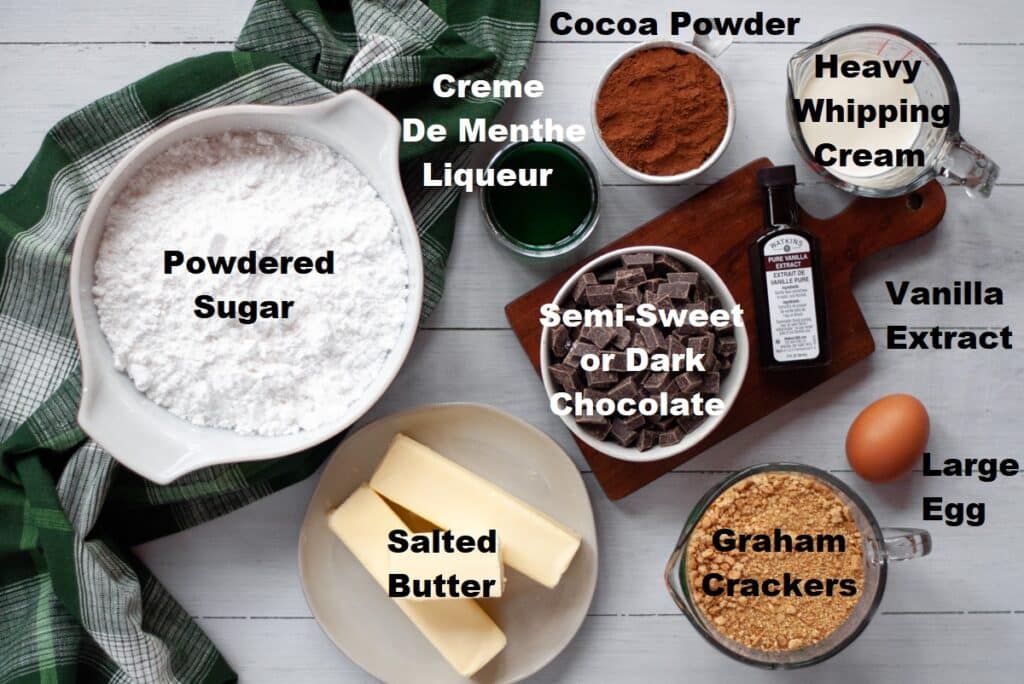
Ingredients Needed
Note: There are Different Strengths of Creme De Menthe
I have to admit that I didn’t know this until I made my very first batch of these chocolate mint squares and was curious why they weren’t as minty as my aunt Martha’s. Luckily, we had 2 bottles of creme de menthe in the cabinet from different brands. I had used the bottle in the front of the cabinet which was 30-proof. The other brand was 60 proof!
While the batch of bars I made was still perfectly delightful, I wanted to note this so you were aware of it. If your local store has multiple options, I would recommend the stronger proof version for a bigger pop of mint in this Christmas treat recipe.
See recipe card below for a full list of ingredients and measurements.
Recipe Variations and Substitutions
- Remove the booze. Want to make these without the creme de menthe? Replace the ⅓ cup creme de menthe with 1 teaspoon peppermint extract and 1-2 drops green liquid gel food coloring.
Step-By-Step Instructions
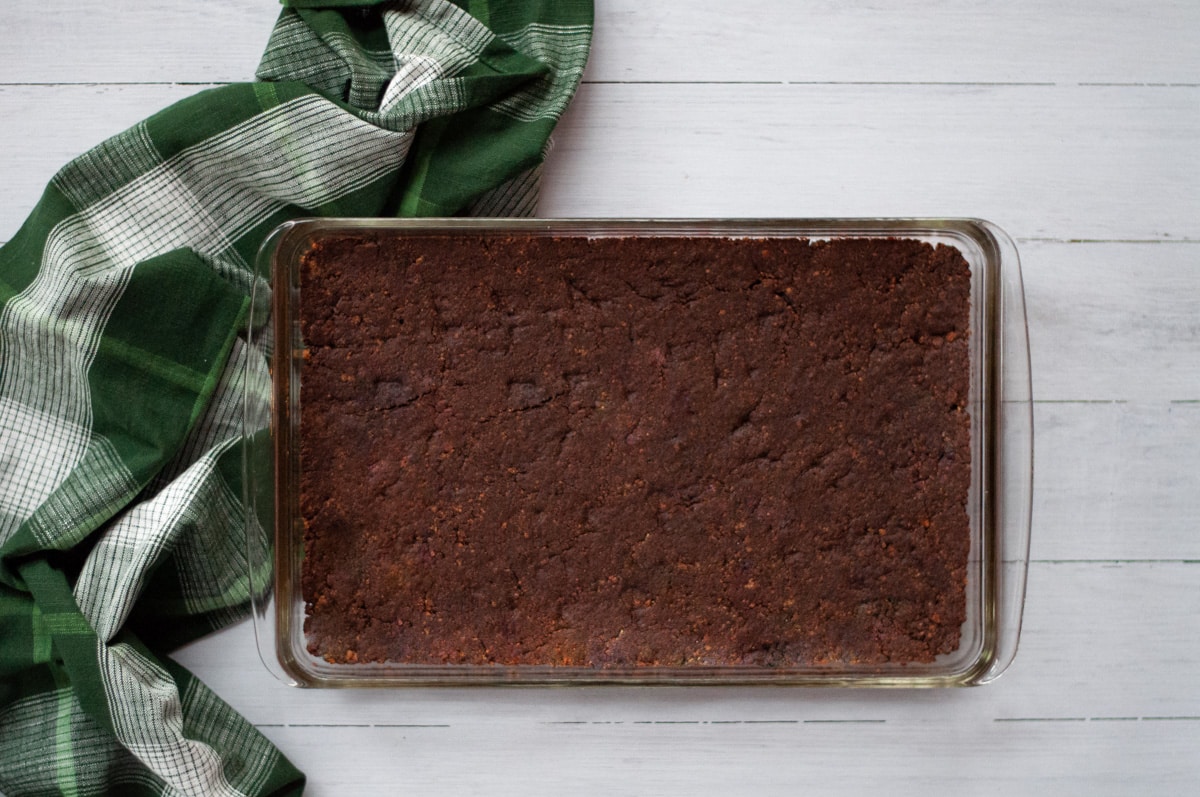
Make the bottom chocolate and graham cracker layer. Press the mixture firmly into the pan, bake, and chill.
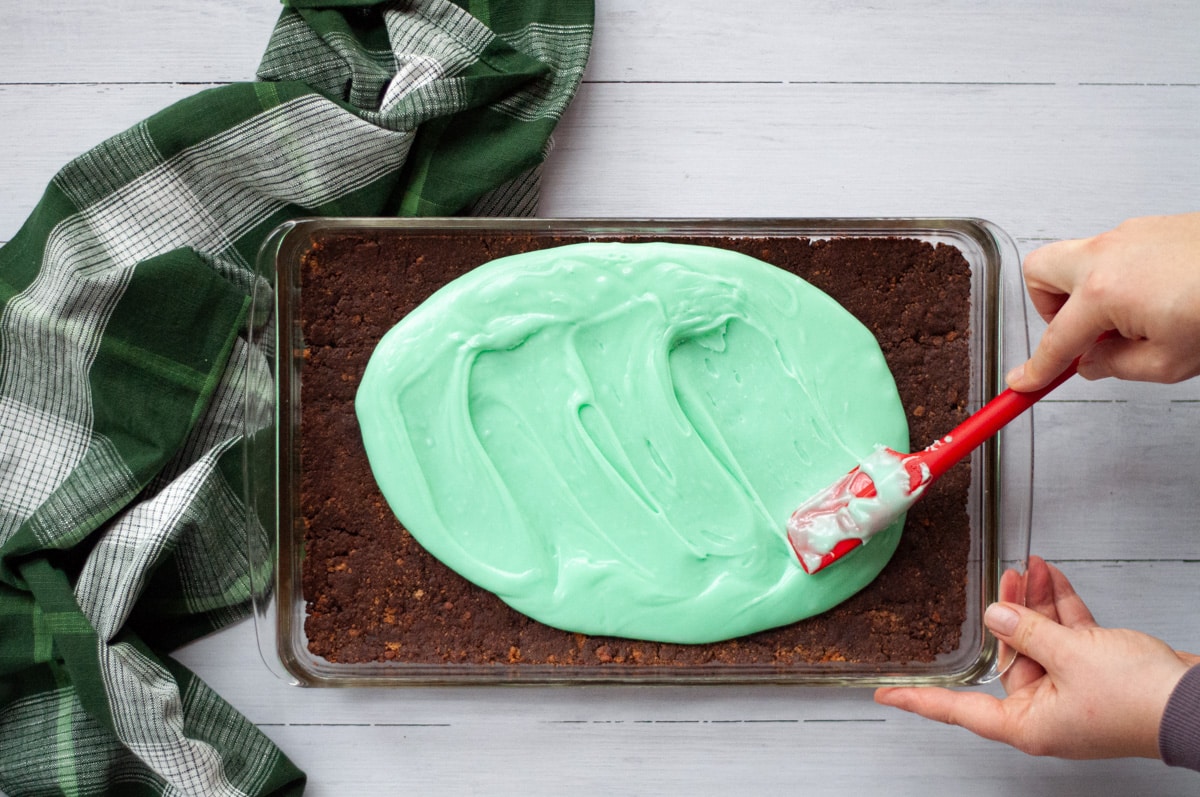
Prepare the middle creme de menthe layer. Spread into an even layer over the chilled bottom layer. Chill until set.
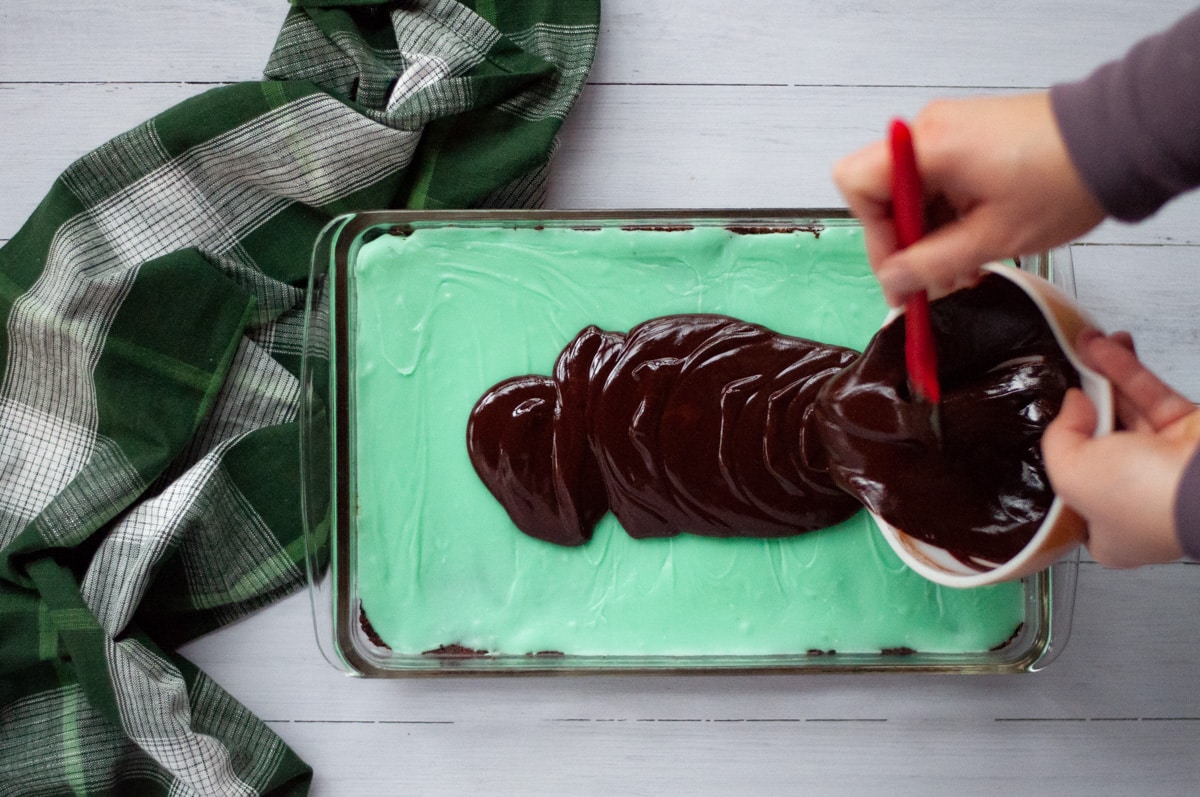
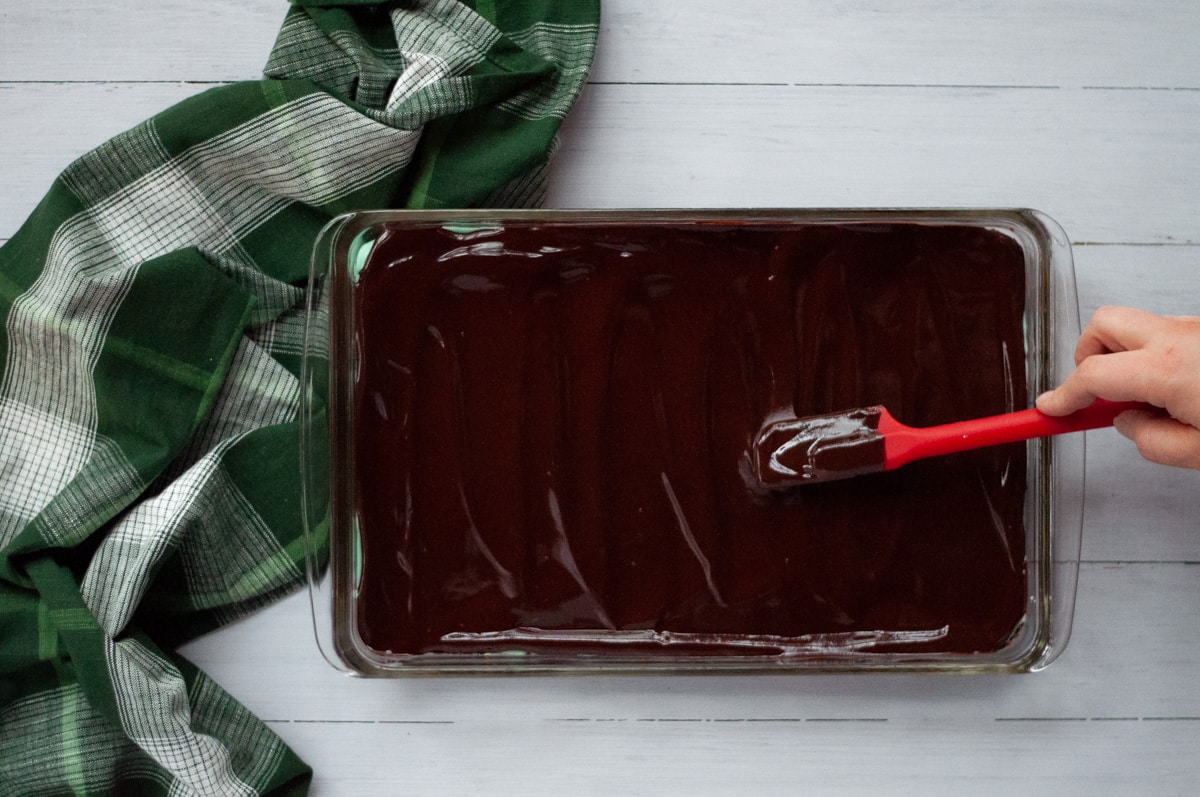
Prepare the top chocolate ganache layer. Spread into an even layer over the set mint layer.
Chill until set. Cut into squares with a sharp knife when ready to serve.
See the recipe card below for detailed instructions for each layer.
Cutting Tips
Cutting these when chilled can result in the top layer cracking. Two ways to ensure a cleaner cut include:
- Let your pan sit at room temperature for at least 5-10 minutes before cutting for the cleanest cuts.
- Use a sharp and hot knife to cut your bars. One of the simplest ways to warm your knife is to place it into a pan of hot water. Dry off the blade prior to cutting. Wipe the blade clean with a paper towel and place back into the water to warm up again between cuts.
Cookie Tray Tip
Because mint is such a strong flavor, putting these chocolate mint squares (and these Chocolate Peppermint Kiss Cookies) onto a larger cookie tray may cause everything to taste minty. BUT this is easy to avoid! Pack your chocolate mint bars on a separate plate (at least for transport to your event), and this will prevent this from happening!
Expert Tips
For the best bottom layer, use a food processor. Using a food processor is my recommendation for the bottom layer for a few reasons.
- It ensures your graham crackers get finely crushed, which helps the base hold together.
- Using a food processor helps you mix together your bottom layer ingredients quickly.
If you do not have access to a food processor, crush your graham crackers by hand or with a rolling pin. Just note, this may result in more crumbly creme de menthe squares.
Make sure to chill each layer before adding the next layer of your bars. This is especially important between layers one (the chocolate and graham cracker crust) and layer two (the green creme de menthe layer). If you add the creme de menthe layer onto a warm base layer it tends to soak into the crust, resulting in bars that are missing that pretty green stripe.
Midwest chilling tip: embrace and use the cold winter weather! If you live in a place that is cold when you make these layered chocolate mint bars, you can chill your various layers outside! Find a flat surface, ensure your pan is covered well each time, and let mother nature cool these down for you.
Recipe FAQs
You may have seen similar recipes that are called no bake chocolate mint bars. *Technically* you don’t need to bake the bottom layer with the egg, as the egg should cook in the hot butter and cocoa mixture. However, my aunt has always baked it and I prefer to do the same, just to be safe. If you chose to not bake the bottom layer, after pressing into the pan, cover and chill the bottom layer for at least one hour.
Touch it and find out! The goal with the bottom layer is to be cool, and you’ll be able to see if it is warm at all by placing your hand on it briefly. For the middle layer, you want to ensure the mint layer has set so that the next layer will sit on top of it. Again, give it a light poke and if it is cool and hard you are ready to add the next layer. If any of the mint layer comes off on your finger, it needs to chill longer. The top layer is a chocolate ganache that needs to re-harden after being melted and spread across the top of your bars. If you poke the final layer and have chocolate on your finger, or leave an obvious fingerprint, it’s not ready yet.
Store your creme de menthe bars in an air-tight container in the refrigerator for up to one week. You can also freeze chocolate mint squares for up to three months.
Love This Recipe? You May Also Enjoy


More from Our Love Language is Food
- Vegetarian Stuffed Peppers
- Cream Cheese Fruit Dip
- Chocolate Cherry Cookies
- Vanilla Simple Syrup
- Crockpot Corn
- Pumpkin Syrup
- Cranberry Sauce Recipe with Orange
- Pumpkin Puree Recipes
- Cheesy Potato Soup
- Salmon Quiche Recipe
- Vanilla Sweet Cream Cold Brew Starbucks
- Blueberry Syrup for Drinks
- Mojito Mocktail
- Pigs in Blankets
- Fried Apple Recipe
- Easy Tuna Casserole
- Sugar Syrup
- Mango Pineapple Smoothie
- Iced White Chocolate Mocha
- Pumpkin Pie Bars
- Coconut Margarita
- Chicken and Biscuits
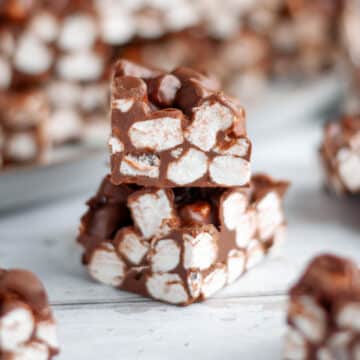
- Reindeer Chow
- White Chicken Chili Crockpot Recipe
- Chocolate Chunk Cookies
- Chicken Lettuce Wraps Recipe
- Coffee Protein Shake Recipe
- Iced Brown Sugar Oatmilk Shaken Espresso
- Starbucks Brown Sugar Shaken Espresso
- Frozen Strawberry Daiquiri
- Gold Rush Cocktail
- Peach Bourbon Smash
- Butterscotch Chip Cookies
- Pumpkin Spice Espresso Martini
- Snickerdoodle Recipe Without Cream of Tartar
- Pumpkin Dip
- Easy Brownie Recipe
- Oven Cooked Bacon
- Cucumber Vinegar Salad
- Savory Monkey Bread
- Coconut Margarita Recipe
Aunt Martha’s Chocolate Mint Bars
Ingredients
- 1 + ¼ C salted butter, divided between layers
- ½ C cocoa powder
- 3 + ½ C powdered sugar, divided between layers
- 1 large egg
- 1 teaspoon vanilla extract
- 2 C crushed graham crackers (about 1 & ½ sleeves)
- ⅓ C green creme de menthe liqueur
- 1 + ½ C semi-sweet or dark chocolate chips
- ⅓ C heavy whipping cream
Instructions
Step 1: Make the bottom layer and chill
- Crush graham crackers (preferably using a food processor to get them finely crushed and of equal size). Set aside.
- Preheat oven to 350°F.
- In a medium or large size mixing bowl, melt ½ cup butter. Stir in cocoa until combined. Stir in ½ cup powdered sugar, egg and vanilla extract until combined.
- Stir in the graham cracker crumbs and mix until all are coated.
- Press the mixture into a 9×13 pan to create an even and tightly packed layer.
- Bake for 10 minutes, and then allow the hot pan to cool on the oven until you are able to handle it (approximately 15-30 minutes).
- Once the pan is cool to the touch, cover the pan with plastic-wrap and place into the refrigerator to chill (a minimum of 30 minutes).
Step 2: Make the middle layer and chill again
- Melt ½ cup butter. Add the green creme de menthe and slowly beat in 3 cups of powdered sugar (I like to add it in ½ cup increments) until a smooth mixture has been created.
- Pour the creme de menthe layer over the cooled chocolate and graham cracker bottom layer. Spread into an even layer with a rubber scraper.
- Cover the pan with plastic-wrap and place into the refrigerator to chill (a minimum of 45 minutes) until set.
Step 3: Make the top layer and chill one last time
- Melt chocolate chips, ¼ cup of butter, and ⅓ cup of whipping cream in a double-broiler over medium heat, stirring often, until melted and smooth.
- Note: you can also do this in the microwave by placing the ingredients into a small, microwave safe mixing bowl. Melt in 20 second increments, stirring in between, until melted and smooth.
- Pour the chocolate ganache layer over the cooled green creme de menthe layer. Spread into an even layer with a rubber scraper.
- Cover the pan with plastic-wrap and place into the refrigerator to chill (at least 1 hour) until set.
Step 4: Cut into squares
- After the top layer is set, let the bars sit at room temperature briefly and then cut into 1″ x 1″ squares using a sharp knife*
- Plate, serve, and enjoy!
- Store your creme de menthe bars in an air-tight container. I like to keep mine cold by placing the container in the fridge.

Marge says
Such a great holiday treat! Definitely adding this to our yearly rotation.
Debra Erickson says
Do you think these bars could be frozen?
Meredith says
Yes, the chocolate mint bars can be frozen if you’re looking to make them early (living in the Midwest they’re almost always frozen in our garage during the season). Just be sure to allow each layer to cool and set up, cut them, and then you can freeze them in layers separated by wax paper.
Lisa S. says
These were so delicious and creamy! Although you do have to be patient between each step, I can promise they are worth the wait. Thanks for the detailed instructions!
Meredith says
I’m so happy that you enjoyed these Lisa! I’m glad you agree they’re worth the wait while the layers set up!
Vivienne says
I made these with Creme de menthe syrup instead of the Creme de menthe liqueur so I could share them with the kids…never too early to get kids to eat mint + chocolate!
Meredith says
Glad you were able to accommodate the kiddos, and that you enjoyed the recipe! Happy Holidays 🙂
CB says
These are a yearly favorite and are one of the first to dissappear from the cookie tray!
Meredith says
So glad these are a part of your holiday tradition too! They definitely disappear fast!
Martha says
These are one of my favorites every year! It does seem like lots of steps, but really easy! You won’t be disappointed. Thanks for the shout-out! Aunt Martha
ourlovelanguageisfood says
agreed! Always a holiday favorite, thanks for letting me share your recipe!