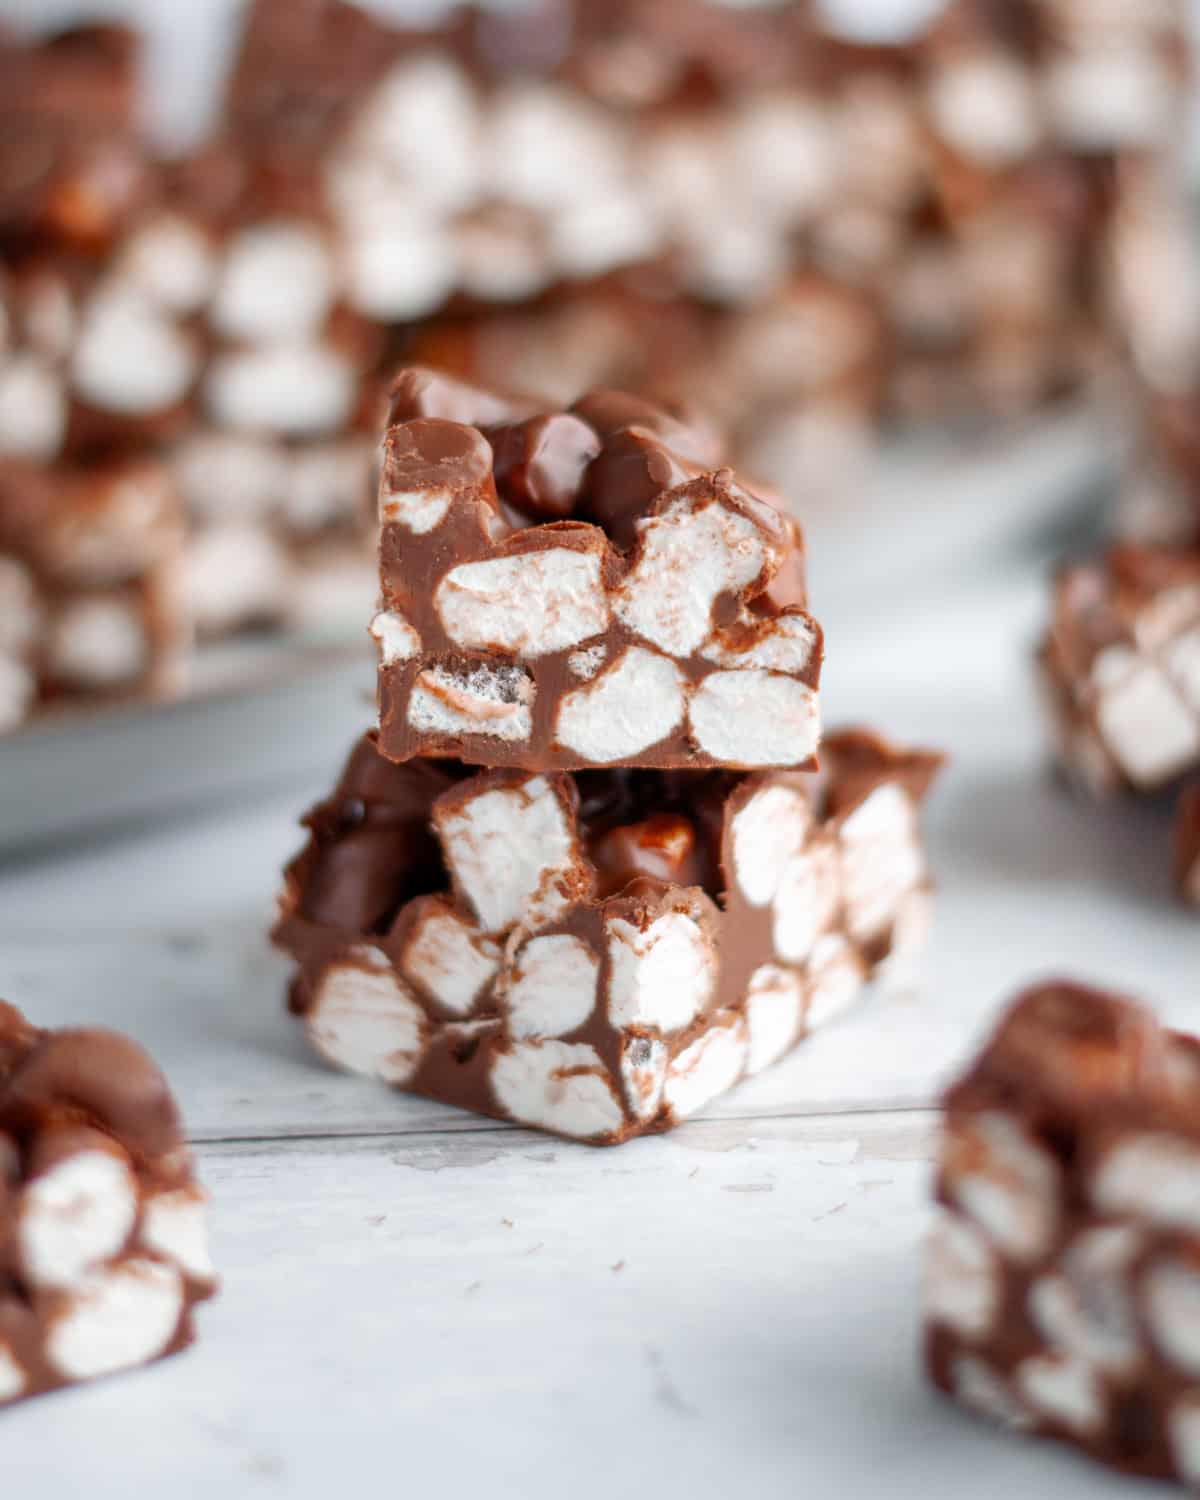
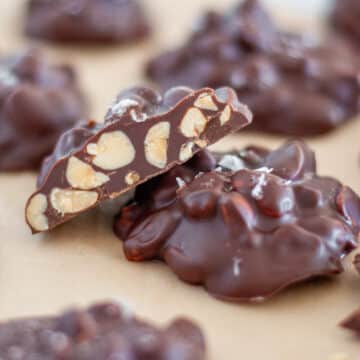
These easy rocky road bars are a family favorite that people request year after year! With just four simple ingredients and about 30 minutes from start to finish, you can have these delicious no bake treats ready to go. What makes our version special is the creamy peanut butter, which we use instead of nuts for a smoother, richer flavor that everyone absolutely loves. They’re chewy, chocolatey, and packed with marshmallows in every bite!
My mom has made these rocky road bars for as long as I can remember, and they’re a must-make item in our house every holiday season. We often end up making several batches because they’re always such a hit and tend to disappear fast (like, first off the cookie tray fast!). This is one of those family favorites that’s been popular with my friends since childhood. My mom would often make extra batches and pack to-go boxes of rocky road for people because everyone loves them so much. She’s also been known to wrap up boxes of rocky road as Christmas gifts for a few of our family members who can never get enough of these… that’s how good these are!
When I finally asked my mom for the actual proportions to share this recipe on the website, she gave me very wide ranges for three of the four ingredients because she always eyeballs it (oh mom!). The recipe I’ve outlined here gives you a fantastic base to work with, that hits all the notes I remember from years and years of enjoying them. However, this recipe is pretty flexible. If you happen to add a little more or less chocolate or peanut butter to your taste, they’ll still turn out great.
This is one of those family holiday recipes that’s so darn easy to make you don’t mind making another batch, and then another!
You’ll Love These Rocky Road Bars!
Only 4 ingredients. Chocolate chips, peanut butter, butter, and mini marshmallows are all you need to make these delicious treats.
No baking required. Just a minute or two of melting time in the microwave (or use the stovetop if you prefer), a little mixing, then chill in the fridge to set up. Easy-peasy!
Always a crowd favorite. These bars disappear fast at parties and gatherings… people can never get enough of these!
Ingredients for Chocolate Rocky Road Bars

- Salted butter. Helps the chocolate melt smoothly and adds a touch of richness.
- Semi-sweet chocolate chips. Form the chocolatey base of these bars and provide the right balance of chocolate flavor without being too sweet (dark chocolate chips work great too if you prefer a richer chocolate taste).
- Creamy peanut butter. Adds incredible flavor and helps create the right texture (use a regular peanut butter like JIF, not natural peanut butter, for best results).
- Mini marshmallows. Give these bars their signature rocky road texture and chewy sweetness.
Complete ingredient measurements and all recipe details can be found in the recipe card at the bottom of the page.
How to Make Rocky Road Bars

Make the chocolate mixture by adding the butter, chocolate chips, and peanut butter to a large microwave-safe bowl.

Heat in 30-second increments, stirring well in between each cycle, until all the chocolate chips are completely melted and the mixture is smooth.

Add the marshmallows. Pour in about half of the mini marshmallows and stir to coat them in the chocolate mixture.

Then add the remaining marshmallows and continue stirring until all are coated.

Spread onto a prepared baking sheet. Transfer the mixture to an aluminum foil-lined baking sheet.

And spread the rocky road mixture into a flat-ish layer (it doesn’t need to be perfectly even).

Chill to set. Place the baking sheet in the fridge for at least 30 minutes, or until the chocolate has completely set and hardened.

Cut and serve. Once set, cut into small squares for serving and enjoy!
Tips for Making This Easy Rocky Road Recipe
Use regular peanut butter, not natural. I do NOT recommend using natural peanut butter for these unless you can ensure the oil is mixed in really well. We’ve tried this a few times over the years and it just doesn’t blend in as well, resulting in sub-par bars. Grab a jar of JIF (or your favorite creamy PB) for the best results!
Don’t overheat the chocolate. When melting the chocolate mixture, use 30-second increments and stir well between each cycle. Overheating can cause the chocolate to seize up or become grainy.
For the best shaped bars, cut the uneven edges off first. My family calls these the “schnerbles” (I don’t think this is a real work), and packs them into their own container. Honestly, these funny shaped little pieces disappear quickly too because they’re so easy to grab and munch on! Once they’re cut off, you can make nice shaped squares.
Store these apart from other cookies. If you’re adding these to a holiday cookie tray, be sure to pack them separately until serving or add them to a tray with other peanut butter-flavored treats (like peanut butter blossoms or peanut clusters). Peanut butter has a strong flavor that tends to spread to whatever it’s stored with, which can affect the flavor of other cookies.

How to Store Homemade Rocky Road Bars
Store rocky road bars in an airtight container in the refrigerator for up to 2 weeks (if they last that long!). They get a bit gushy at room temperature, so the fridge is definitely the best place to keep them. Add wax paper or parchment paper between layers to prevent sticking. You can also freeze these bars in an airtight freezer-safe container for up to 3 months. Thaw in the refrigerator before serving.
No Bake Rocky Road Bar Recipe FAQs
Mini marshmallows work best because they distribute more evenly throughout the bars and are easier to coat with chocolate. If you only have regular marshmallows, you can cut them into smaller pieces with kitchen scissors, but mini marshmallows are definitely the way to go!
Absolutely! Melt the butter, chocolate chips, and peanut butter in a saucepan over low heat, stirring constantly until smooth. Then proceed with adding the marshmallows as directed.
Make sure you’re giving them enough time in the fridge (I know it’s hard not to dive in right away!). If you added too much peanut butter, they might stay softer. They’ll still taste great, but be a little messier to eat. Alternatively, you can pop them in the freezer if you want them to set up faster, or give them more time in the fridge if needed.
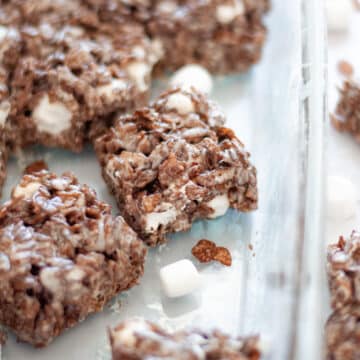
Sure! Some people like to add chopped nuts (like almonds or walnuts) to rocky road bars. You could also try adding in a sprinkle of Rice Krispies cereal for some extra crunch. Just add your mix-ins at the same time as the marshmallows.
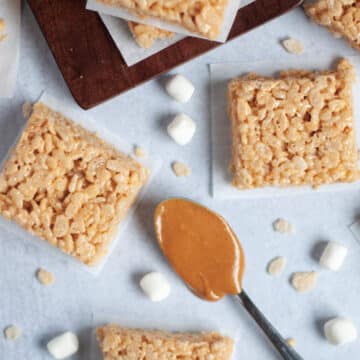
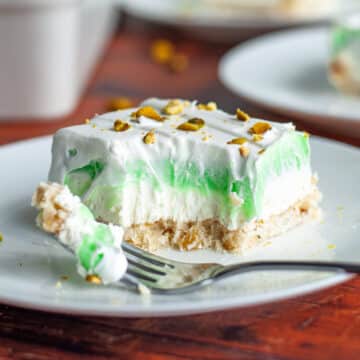
Love This Recipe? Try One of These No Bake Dessert Bars Next!


Easy Rocky Road Bars
Ingredients
- 2 Tablespoons salted butter
- 1 , 12 ounce package semi-sweet chocolate chips
- ¾ Cup creamy peanut butter
- 1 , 16 ounce package mini marshmallows
Instructions
- Add the butter, chocolate chips, and peanut butter to a large, microwave safe bowl and heat in 30-second increments, stirring in between each cycle, until all chocolate chips are melted.2 Tablespoons salted butter1 , 12 ounce package semi-sweet chocolate chips¾ Cup creamy peanut butter
- Pour in about half of the marshmallows, stirring to coat, then pour in the remaining marshmallows and continue to stir until all are coated in the chocolate mixture.1 , 16 ounce package mini marshmallows
- Transfer to an aluminum foil lined baking sheet and spread out into a flat-ish layer (it doesn't need to be perfectly even).
- Chill in the fridge for at least 30-minutes or until the chocolate has set and hardened.
- Cut into small squares for serving and enjoy!

sarah says
I love this quick recipe! I would pair this with a brownie for the best comfort food treat. I especially like how it is so quick to make and tastes delicious
Meredith says
I’m so glad you enjoyed the rocky road too – they’re a favorite in our house!
Amy says
Made them with Dandies vanilla marshmallows, and they turned out so yummy!
Meredith says
I’m so glad you enjoyed them Amy! I’ll definitely have to try them with Dandies next time, I love those!
Amanda says
I made these in less than 10 minutes!! They are addictive in the best way, love the texture and flavor!
Meredith says
I’m so glad you loved these too Amanda! the best easy treat.
Claire says
These were so good! The perfect mix of marshmallow peanut butter and chocolate.
Meredith says
I’m so glad you loved these too Claire!
Maren says
Have loved these since I was a kid and am so excited to make them for myself now!
Meredith says
I thought of you when I posted these!!! xoxoxo
David says
Prediction: in 1 year, these will be the highest rated item on the website 🙂
Meredith says
🙌🙌🙌 i love this prediction!
Vivienne says
The US Midwest is having a Polar Vortex deep-freeze moment. These bars are perfect to keep on the porch and they stay frozen. So good!
Meredith says
I like your style Vivienne!! Enjoy!
Meredith says
The BEST treat of all time!