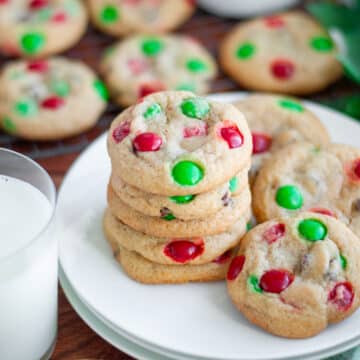
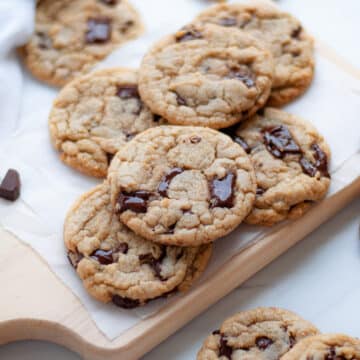
Peanut butter blossom cookies are a holiday classic. But the combination of peanut butter and chocolate is something that can (and should be) enjoyed all year long! I’ve made this cookie recipe pretty much exclusively for Valentine’s Day for nearly 20 years, which is why I’ve shown these with chocolate hearts instead of kisses. This tradition started when my husband and I first started dating and has just stuck! With our tips for success, detailed step-by-step photos, and easy to follow instructions, you’ll have the perfect batch of peanut butter blossoms baked up in no time!

Peanut butter blossoms are one of the world’s greatest cookie recipes (in my opinion), but are usually only made at Christmastime. Why is that? The classic combination of peanut butter and chocolate is perfect the whole year round.
Our no chill recipe keeps things easy, and gets you fresh cookies out of the oven ASAP. Top with your favorite chocolate candies, whether it’s a kiss, a heart, or a start, and enjoy!
And if you love the combination of chocolate and peanut butter, you’ve got to try our slow cooker peanut clusters and our homemade puppy chow too!
Why You’ll Love This Recipe
Level of difficulty: Peanut butter blossoms are an easy, classic cookie recipe. Suitable for all skill levels (also fun to have your kids help place the chocolate candies to be a part of the action)
Flavor: These cookies are packed full of peanut butter flavor, with chocolate being the next flavor that stands out (aka the best flavor combo!)
Texture: Peanut butter blossoms are soft and chewy, with the slightest crunch coming from the sugar you roll the cookie dough in before baking
Time: From start-to-finish, it will take you approximately 55 minutes to make your entire batch of peanut butter blossom cookies. This includes your prep, mixing, and baking 3 cookie sheets individually. No judgement on this end if you put more than one cookie sheet in at a time (just note that doing so may extend the cooking time by a few minutes)…you do you!
Ingredients Needed

- Salted Butter. Butter adds richness, tenderness, and structure to cookies.
- Granulated Sugar and Brown Sugar. Using both granulated sugar and brown sugar creates a cookie base with the perfect level of sweetness, moistness, and chewiness. We also use additional granulated sugar to roll our dough balls in before baking.
- Large Egg. Using a whole egg (in lieu of using just an egg yolk or just an egg white) helps give our cookies structure, acts as a leavening agent, and also adds moisture to our cookies.
- Vanilla Extract. Adds depth of flavor to our cookies.
- Creamy Peanut Butter. In addition to adding the distinctive nutty flavor we’re expecting in this recipe, peanut butter contributes to the cookie’s soft consistency and can also help create a more delicate and crumbly texture too. While I love eating natural peanut butter, I’ve found it can be challenging to bake with. I tend to reach for a classic creamy JIF peanut butter when baking because I’ve had consistently good results with it.
- All-Purpose Flour. This type of flour has the optimal protein range for baking cookies, so when baked properly you’ll get cookies that are soft and chewy. Plus, most people will have this type of flour in their pantry already (and if you don’t, it’s easy to find at any grocery or convenience store).
- Baking Soda and Baking Powder. We’re using a combination of baking soda and baking powder as our leavening agents to create cookies with the perfect texture, rise, and shape.
- Chocolate Candies. Hearts, kisses, stars, or whatever other chocolate candy you love is the perfect topper for this cookie! I personally love dark chocolate hearts on these, but I usually use a mixture of dark chocolate and milk chocolate (which is my husband and kiddo’s preference).
See the recipe card at the bottom of this page for all ingredient measurements and full recipe instructions.
Selecting Your Chocolate Candies for Topping
This is an area you can have fun with!
- Want to make a classic peanut butter blossom? Use milk chocolate Hershey Kisses.
- How about a fun Valentines cookie? Use a chocolate heart. You can use dark chocolate hearts, milk chocolate hearts, or get wild and try some peanut butter filled chocolate hearts.
- Want something different? Look for ‘chocolate stars’ that you can often find in the baking aisle (fun fact: this is the candy my mom always used when I was growing up).
Peanut Butter Blossom Variation Ideas
Use colored sugar for rolling for an extra festive cookie! Our base recipe uses granulated sugar in our cookie dough and for rolling our dough balls in. BUT you can roll your dough balls in festive sanding sugar for a little extra fun!
- Roll your dough balls in red and/or pink sanding sugar for Valentine’s Day Cookies
- Use red and/or green sanding sugar for Christmas Peanut Butter Blossoms
Step-By-Step Instructions
Preheat your oven to 350°F. Set out your baking sheets, lining with parchment paper if desired (optional, not required).

Add the the butter, brown sugar, and granulated sugar to the bowl of a stand mixer and cream together with a paddle attachment (or use a large mixing bowl with a wooden spoon) until the mixture is combined and a bit lighter (it will still look grainy).

Add in the egg and vanilla extract and mix until a uniform mixture is created (it will look kind of wet at this point).

Add the peanut butter to your mixture and stir to combine.

Slowly stir in your dry ingredients, starting with the salt, baking soda, baking powder, and flour.
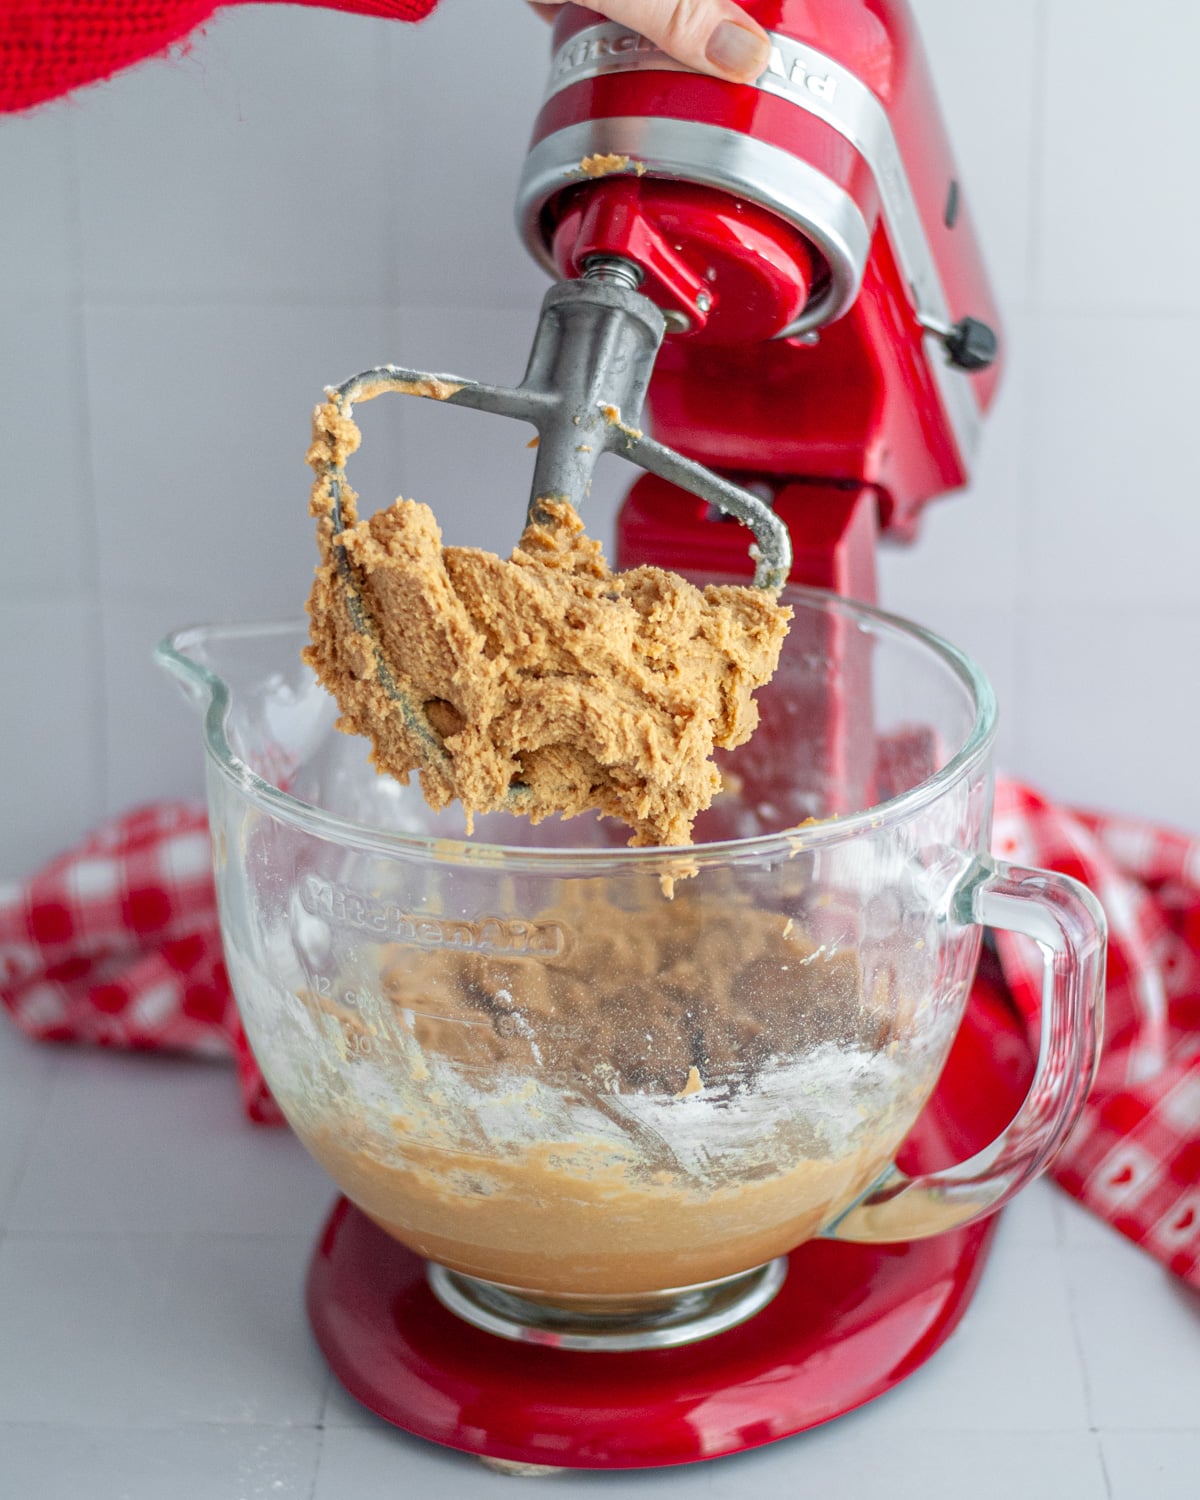
Mix until a dough is formed, scraping down the sides of the bowl as needed with a rubber scrapper.

Evenly scoop out your dough and roll into 1” balls (I like to use a small cookie scoop to portion out my dough, or use about 1 Tablespoon of dough).

Roll the dough balls in granulated sugar.

Place on your cookie sheet, spacing them about 2″ apart.
- Note: do not flatten your dough balls, your cookies will begin to flatten as they bake and will get their final shape once you press the chocolate into them.

Bake for 10-12 minutes, until the edges of your cookies are slightly golden and cracks begin to appear.

Removed from the oven and immediately place a chocolate into the center of each cookie (pressing gently).

After adding the chocolate, allow the cookies to rest on the baking sheet a few minutes before transferring them to a cooling rack to cool completely.
Expert Tips for Your Chocolate Candies
Have your chocolate candy of choice unwrapped and ready to go. You want to have your candies unwrapped and ready to place on top of your cookies immediately after they come out of the oven. Once the cookies have cooled and firmed up, it is difficult to add the candy kiss.
Optional step: freeze your unwrapped candies for at least 10 minutes (and up to a few hours) before pressing them into the hot cookies to help them hold their shape.
Helpful Equipment
Using a small cookie scoop helps to get all of your cookies to be the same size! A small cookie scoop is the perfect size for peanut butter blossom cookies, giving you the perfect ratio of cookie to chocolate candy topping.
Storage
Store fully cooled cookies in an air-tight container at room temperature for up to 5 days. Be sure your chocolate has hardened before storing (it will get a little melty after you press it into your cookies) to prevent any sticking and smearing of your chocolate.
You can also freeze baked cookies for up to 3 months! Simply place fully cooled cookies in a freezer-safe container or zip top baggie, label it, and freeze until ready to enjoy.
Recipe FAQs
Use a chocolate that you like! The classic peanut butter blossom recipe would have you use chocolate kiss. As you can see in my photos, I used dark chocolate hearts, but milk chocolate hearts are great too. I also like to use the ‘chocolate stars’ you can find in the baking aisle because that is what I grew up with. As long as the chocolate you use is about the same size as a Hershey Kiss, it will work!
There are a few ways to do this. I like to use a small cookie scoop to portion out my cookies. The scoop is easy to hold and the dough comes out nicely. Alternatively, you could use a Tablespoon measure.
I love warm cookies just as much as the next guy, but peanut butter blossoms actually need to set up a little bit before you eat them. After you press the chocolate into the cookie, they need to reset as they cool. If you eat them while they are too warm, the cookie tends to crumble. Allowing your peanut butter blossoms to cool for at least 5-10 minutes before diving in will help you to avoid this issue.
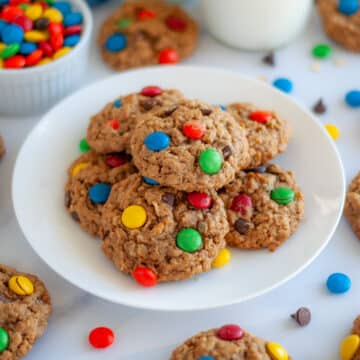
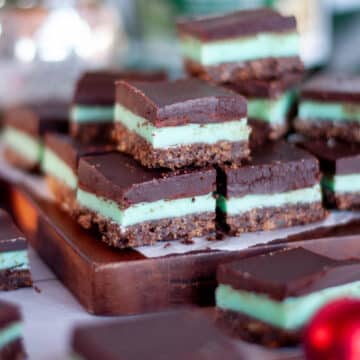
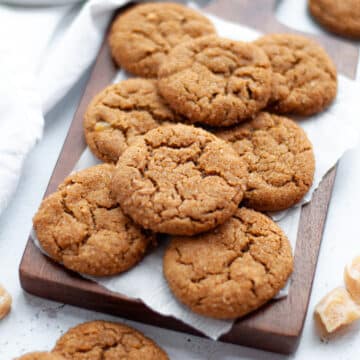
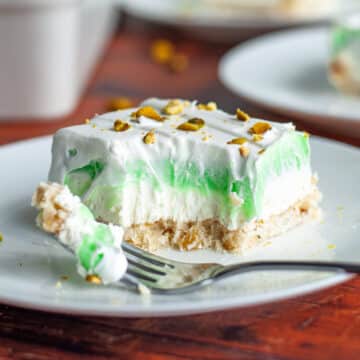
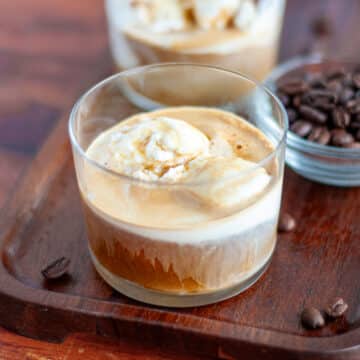
Love This Recipe? Try One of These Easy Cookie Recipes Next!


Peanut Butter Blossom Cookies
Ingredients
For the Dough
- ½ C salted butter softened
- ½ C granulated sugar
- ½ C brown sugar
- 1 large egg
- ½ teaspoon vanilla extract
- ½ C creamy peanut butter
- ¾ teaspoon baking soda
- ½ teaspoon baking powder
- 1 & ½ C all-purpose flour
For Rolling
- ½ Cup granulated sugar (or colored sanding sugar of choice)
For Topping
- 36 chocolate candies (kisses, hearts, starts, etc.)
Instructions
- Preheat oven to 350°F (177°C). Set out your baking sheets (option to line with parchment paper if desired).
- In a large bowl, cream together the butter, and both sugars.½ C salted butter½ C granulated sugar½ C brown sugar
- Add egg, vanilla, and peanut butter to your bowl and mix until all ingredients are combined.1 large egg½ tsp vanilla extract½ C creamy peanut butter
- Slowly mix in the dry ingredients until a dough forms.¾ tsp baking soda½ tsp baking powder1 & ½ C all-purpose flour
- Using a small cookie scoop (or about 1 Tablespoon) portion out dough and roll into 1" balls with your hands.
- Roll the dough balls in granulated sugar so all sides are well coated and then place them onto an ungreased cookie sheet, spacing them about 2" apart½ Cup granulated sugar
- Bake 10-12 minutes (until edges are slightly golden and the tops are beginning to crack a little bit).
- Once removed from the oven, immediately press 1 chocolate candy gently into the center of each cookie.36 chocolate candies
- Allow the cookies to rest on the baking sheet for a few minutes them transfer them to a cooling rack to cool completely.
Notes
Nutrition
Recipe Adapted from Betty Crocker

David says
My favorite Valentine’s treat; introduced to me by my wife while we were dating and still a favorite over 15 years later!
Meredith says
❤️❤️❤️ i love to hear this!
Martha says
Agreed! Peanut Butter Blossoms are not just for Christmas! These are a family favorite for sure!
ourlovelanguageisfood says
🙌🙌🙌 PB blossom year round club! Glad you love these too.