This m&m cookie bars recipe delivers all the flavor of homemade Christmas cookies with way less work! Soft, chewy, and loaded with chocolate chips and festive red and green M&Ms, these bars skip all the scooping, portioning, and rotating pans in and out of the oven. No multiple trays, no watching the oven and swapping pans, just press the dough into one pan, bake, and slice.

I’ve always been a huge fan of cookie bars, even going so far as to request blondies for my birthday growing up instead of cake (yes, really!). Cookie bars just have the best texture, use fun mix-ins, and have all the buttery goodness of homemade cookies but without all the fuss of individual cookies! And when the holidays roll around and the to-do lists seems to get extra long on top of everything else you’ve already got going on, Christmas cookie bars are an easy way to get homemade holiday treats baked up with less stress and less of your time and attention required.
These m&m cookie bars are an adaptation of our popular Christmas M&M cookies recipe that’s a huge hit during the holidays. I love those cookies, but sometimes you just need something faster and easier, you know? Whether you’re bringing a treat to a holiday movie night, need something for a cookie exchange but ran out of time, or just want to enjoy a festive dessert without the production of making multiple batches of cookies, these bars deliver all the flavor with way less effort.
You’ll Love These Easy Cookie Bars
Faster and easier than cookies. No scooping individual cookies or baking multiple trays. Simply press the dough into one pan and bake.
Soft and chewy texture. These bars have that classic cookie bar texture that’s soft in the middle with slightly firmer edges.
Festive and fun. The red and green m&m’s make these feel special for the holidays without any extra decorating work.
Great for beginners. If you’re intimidated by making cookies but want a homemade holiday treat, these bars are way more forgiving and easier to master.
Ingredients for Christmas Cookie Bars

- Salted butter. Creates the rich, buttery base that makes these bars taste homemade and delicious.
- Brown sugar. Adds moisture and chewiness to the bars while contributing a subtle molasses flavor (light or dark both work great!).
- Granulated sugar. Sweetens the bars and helps create the right texture.
- Large egg. Binds all the ingredients together and adds structure to the bars.
- Vanilla extract. Enhances all the flavors and adds that classic cookie taste.
- Salt. Balances the sweetness and makes all the other flavors pop.
- Baking soda AND baking powder. Work together to give the bars a slight lift and the right texture.
- All-purpose flour. Provides structure and helps the bars hold together when you slice them.
- Semi-sweet chocolate chips. Adds pockets of melty chocolate throughout the bars.
- Red and green holiday m&m candies. The festive star of the show! Use milk chocolate m&m’s for the best flavor and texture.
Full ingredient measurements and all recipe details can be found in the recipe card at the bottom of the page.
How to Make m&m Cookie Bars
Preheat your oven and prep your pan. Preheat the oven to 350°F and lightly grease a 9×9 inch metal baking pan. If you want extra easy removal, you can also add a sheet of parchment paper.

Cream the butter and sugars. Add the softened butter and both sugars to the bowl of a stand mixer (or to a large bowl).

Cream together with a paddle attachment (or using a wooden spoon) until the mixture looks kind of pale yellow and a bit fluffy.

Add the remaining wet ingredients. Add the egg and vanilla to the bowl and mix until everything is well combined.

Mix in the dry ingredients. Start with the salt, baking soda, and baking powder.

Then slowly add in the all-purpose flour and mix until a dough forms.

Add the mix-ins. Gently fold in the chocolate chips and m&m candies until well distributed throughout the dough.

Press into the pan. Transfer the dough to your prepared pan and press it into an even layer with a rubber scraper or your hands. Be sure to press the dough all the way into the corners.

Top with extra m&m’s if desired. For extra pretty bars, grently press some additional m&m’s on top of the dough.

Bake. Bake until the edges are set and beginning to brown, and the center is puffed up. The bars should no longer look wet or shiny and they should not jiggle when you gently shake the pan. You can also check for doneness with the toothpick check.

Cool and slice. Let the bars cool in the pan (for at least 15 minutes) before slicing. This allows the bars to set up and you’ll get a nicer cut. Don’t worry, you can still enjoy them warm, just give them a little bit, ok?
Cookie Bars Baking Tip
Rotating the pan halfway through baking helps your bars brown (and bake) evenly! Doing this also helps avoid one section of your bars getting toastier in any hot spots your oven may have.
Cookie Bar Variation Ideas
- Use different m&m colors for different occasions. Pastels for Easter, red and pink for Valentine’s Day, or classic colors to enjoy these year-round.
- Add festive sprinkles. Add about 2 Tablespoons of red, green, and white holiday jimmies (aka standard sprinkles) to your dough with a dash on top too (pressing them in gently) to give your bars a little extra holiday spirit.
- Use mini m&m‘s. Mini m&m’s distribute more evenly throughout the dough if you prefer smaller bursts of candy in every bite. If you’re doing this, I’d also recommend switching to mini chocolate chips.
- Try different chocolate chips. Milk chocolate chips, dark chocolate chips, or even white chocolate chips would all be delicious in these bars.
- Make them in a 9×13 pan. Double the recipe and bake in a 9×13 inch pan to make enough for a bigger crowd (baking time will be similar).

Expert Tips for Making Christmas m&m Cookie Bars
Use a metal pan. Like when baking brownies, cookie bars are best when baked in a metal pan. Metal pans conduct heat better than glass, which helps you get more even baking and soft centers without overbaking the edges.
Don’t overbake. The bars will continue to set up as they cool, so it’s better to pull them out when the center is just set rather than waiting until they look completely done. Overbaked bars will be dry instead of chewy.
Press extra m&m‘s on top. Before baking, press a few extra m&m’s on top of the dough for a prettier presentation and more festive look.
Let them cool before slicing. I know it’s tempting to dig in right away, but letting the bars cool for at least 15 to 20 minutes makes them so much easier to slice cleanly.
How to Store m&m Cookie Bars
Store cookie bars tightly covered or in an airtight container at room temperature for up to 5 days. Layer them with parchment paper or wax paper between layers to prevent sticking. For longer storage, refrigerate the bars in an airtight container for up to 1 week. Let them come to room temperature before serving for the best texture.
You can also freeze these bars! Wrap individual bars or the whole pan tightly in plastic wrap, then aluminum foil, and freeze for up to 3 months. Thaw at room temperature or in the fridge before enjoying.
m&m Cookie Bars Recipe FAQs
You can, but metal pans work better for cookie bars because they conduct heat more evenly. If you only have a glass pan, reducing the oven temperature by 25°F and keeping a close eye on them can help prevent overbaking.
Hard cookie bars usually happen from overbaking. Remember that the bars will continue to cook a bit as they cool in the pan, so pull them out when the center is just set and the edges are lightly browned. Also make sure your butter is softened (not melted) when you start.
Sure! You can make them with just chocolate chips (simply replace the amount of m&m’s listed in the recipe card with more chocolate chips), or substitute the m&m’s with other candies like Reese’s Pieces, chopped peanut butter cups, or chopped chocolate egg candies at Easter time.
The edges should be set and beginning to brown a bit, and the center should be puffed up and no longer look wet or shiny and should not jiggle when the pan is wiggled lightly. The toothpick test works great too. Simply insert a toothpick into the center of the pan of bars and if it comes out with just a few moist crumbs (not wet batter) the bars are ready to pull out of the oven.
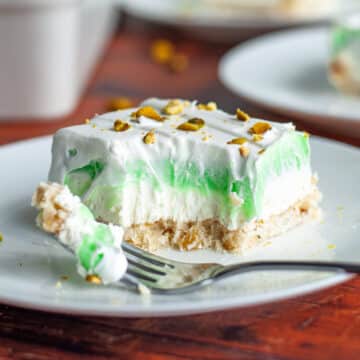
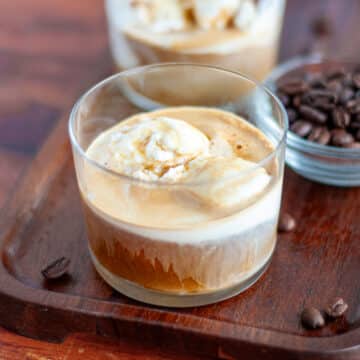
Love These Bars? Try One of These Easy Christmas Treats Next!

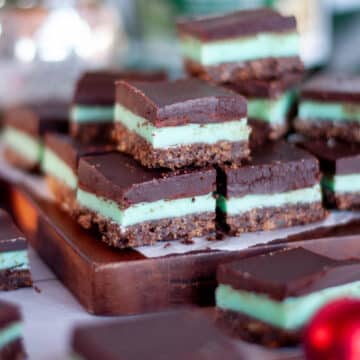

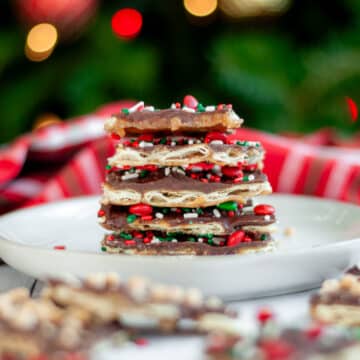
Still looking for more? I’ve put together a comprehensive list of over 60 easy Christmas treat recipes that you’ll love too.

Easy Christmas m&m Cookie Bars
Equipment
- Large Mixing Bowl -or- Stand Mixer with Paddle Attachment
Ingredients
- ½ Cup salted butter, softened
- ⅓ Cup brown sugar* (light or dark)
- ⅓ Cup granulated sugar*
- 1 large egg
- 1 teaspoon vanilla extract
- ½ teaspoon salt
- ½ teaspoon baking soda
- ½ teaspoon baking powder
- 1.5 Cups all-purpose flour
- ½ Cup semi-sweet chocolate chips
- ½ Cup red and green holiday m&m milk chocolate candies + additional for pressing onto the top if desired
Instructions
- Preheat & Prep. Preheat the oven to 350°F and grease a 9×9 inch metal baking pan. For extra easy removal from the pan, you can also line it with parchment paper.
- Cream the butter and sugars. In a large bowl (or the bowl of a stand mixer with a paddle attachment) cream together the softened butter, granulated sugar, and brown sugar (it will be a bit grainy, look kind of pale yellow, and be a bit fluffy).½ Cup salted butter, softened⅓ Cup brown sugar*⅓ Cup granulated sugar*
- Add the remaining wet ingredients. Mix in the egg and vanilla extract until everything is well combined.1 large egg1 teaspoon vanilla extract
- Mix in the dry ingredients. Slowly mix in the salt, baking soda, baking powder, and all-purpose flour until a dough is formed.½ teaspoon salt½ teaspoon baking soda½ teaspoon baking powder1.5 Cups all-purpose flour
- Add the mix-ins. Gently mix in the chocolate chips and red and green m&m candies until well distributed throughout the dough.½ Cup semi-sweet chocolate chips½ Cup red and green holiday m&m milk chocolate candies + additional for pressing onto the top if desired
- Press into the pan. Transfer the dough to your prepared pan and press it into an even layer, making sure to press the dough into the corners using your hands or a spatula.
- Top with extra m&m's if desired. For extra pretty presentation, add some extra m&m candies on top of the dough and gently press them in.
- Bake. Bake for 20 to 25 minutes until the edges are set and beginning to brown, and the center is puffed up. Your cookie bars should not look really wet or jiggle when you gently shake the pan. You can also check for doneness by inserting a toothpick into the center. If it comes out with just a few moist crumbs on it, you're good to go.
- Cool and slice. Let the bars cool in the pan for at least 15 to 20 minutes before slicing. They'll be easier to cut cleanly once they've cooled a bit.
Video
Notes
- Use different m&m colors for different occasions. Pastels for Easter, red and pink for Valentine’s Day, or classic colors to enjoy these year-round.
- Add festive sprinkles. Add about 2 Tablespoons of red, green, and white holiday jimmies (aka standard sprinkles) and gently press a few on top too.
- Use mini m&m‘s. If you’re doing this, I’d also recommend switching to mini chocolate chips.
- Try different chocolate chips. Try using milk chocolate, dark chocolate chips, or even white chocolate chips in place of semi-sweet.
- Make them in a 9×13 pan. 2x the recipe and bake in a 9×13 inch pan for more cookie bars (baking time will be about the same).
Karol says
I love all cookie bars, and this is no exception! Super tasty and festive too!
Meredith says
so glad you loved these too Karol!
Meredith says
so easy and so yummy! the perfect holiday treat.