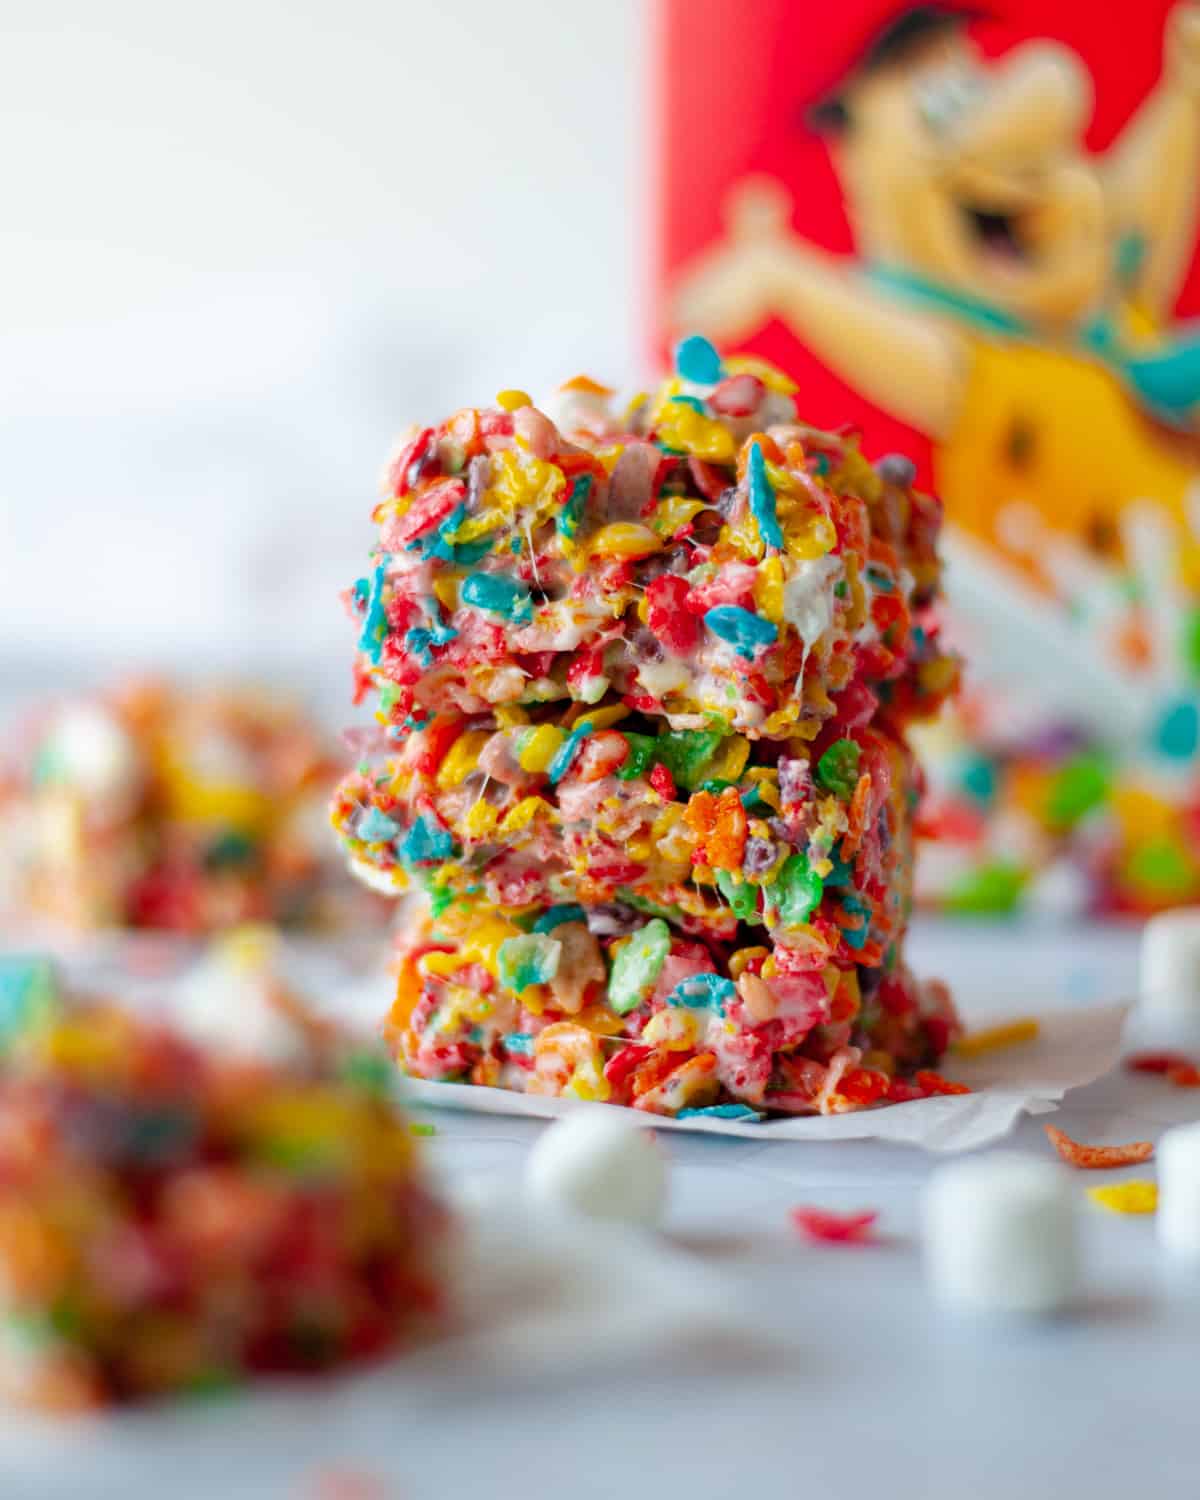
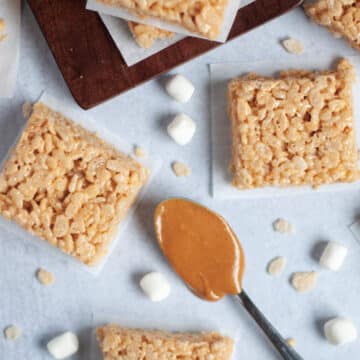
If you grew up eating homemade Rice Krispie treats like I did (thanks mom!), and you also love Fruity Pebbles cereal (like my husband), this 3-ingredient Fruity Pebbles treats recipe is for you! Our 6 simple steps, step-by-step photos, and detailed tips for success will help you mix up the very best batch of Fruity Pebbles marshmallow treats in no time!
⭐⭐⭐⭐⭐ Reviews
“The chewy and gooey factor was amazing!! Super addictive in the best way!” – Amanda
“A delicious treat! The perfect combination of crunch and gooey marshmallow. Had to stop myself from eating the whole tray in one sitting!” – Kurt
As an avid rice krispie treat lover who’s developed over 20 no bake dessert recipes for this website (and nearly 70 dessert recipes total), I’ve learned what makes cereal treats truly exceptional. The secret is in the technique, not just the ingredients. I’ve made countless batches of these colorful treats over the years, and through all that testing I’ve figured out the easiest technique, perfect marshmallow to cereal ratio, and most importantly, the way to keep your bars soft and chewy instead of rock hard (it’s all about gentle pressings). That last tip is a game changer that took me way too long to figure out!
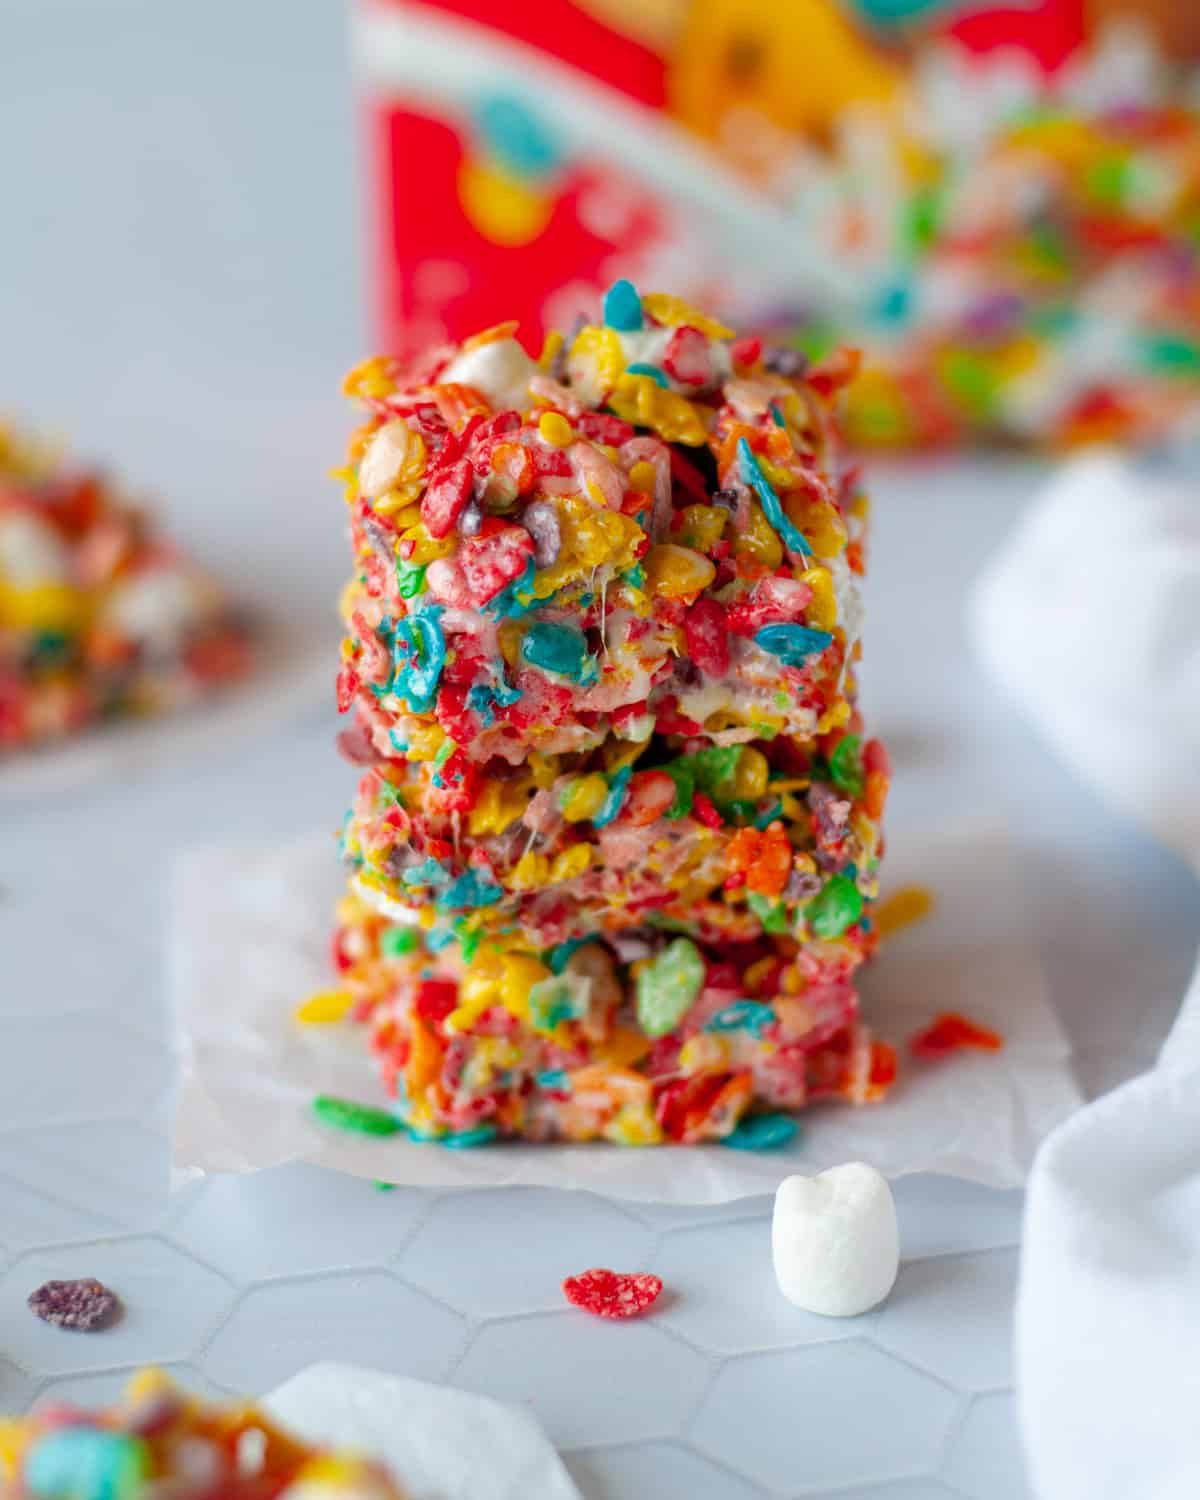
What makes this recipe special is the extra cup of mini marshmallows that gets folded in at the end. This creates pockets of gooey marshmallow throughout the bars that make each bite extra delicious. The vibrant colors and fruity flavors make these bars really stand out at birthday parties, bake sales, and summer cookouts. While traditional Rice Krispie treats might be the classic marshmallow treat, once you try this fun twist you’ll never want to make anything else!
Now that it’s warming up outside, you’ll need a few tried and true no bake desserts to make (after you make our Fruity Pebbles cereal bars of course!). Be sure to check out our no bake Cocoa Pebbles Treats, Scotcheroos, Lucky Charms Cereal Bars, and Golden Graham S’mores Bars too!
Jump to:
- ⭐⭐⭐⭐⭐ Reviews
- Why You’ll Love This Fruity Pebbles Treats Recipe
- Fruity Pebble Treats Ingredients
- How To Make Fruity Pebble Treats
- Fruity Pebbles Rice Crispy Treats Variations
- What to Serve with Fruity Pebbles Treats
- Fruity Pebbles Treats Tips
- How To Store Fruity Pebble Treats
- Fruity Pebbles Rice Crispy Treats FAQs
- Love This Recipe? You May Also Enjoy
- Fruity Pebble Treats Recipe
Why You’ll Love This Fruity Pebbles Treats Recipe
Only 3 simple ingredients. All you need to make this recipe is salted butter, mini marshmallows, and Fruity Pebbles cereal. When I say three ingredients, I mean it! You don’t need to add any additional spices, extracts, or salt.
Truly a no-bake recipe. These cereal bars don’t require the oven or the stovetop! I use the microwave to melt the butter and the marshmallows for this easy recipe.
So quick and easy. This is an easy dessert recipe that is perfect for beginner cooks, older kids, and teenagers. With so few ingredients and no stovetop required, this recipe is practically impossible to mess up!
Bright and colorful. Classic Rice Krispie Treats need extra food coloring, sprinkles, and toppings to brighten them up. You don’t need to add anything extra to make colorful Fruity Pebbles Treats stand out!
Great for kids and adults alike! My toddler would eat her body weight in these if I let her… so would my husband. My coworkers also loved these. This Fruity Pebble treats recipe is always a hit!
Fruity Pebble Treats Ingredients

- Salted Butter. You need to use salted butter, not unsalted butter. The salt adds depth of flavor to the dessert bars and balances out the sweetness.
- Mini Marshmallows. Mini marshmallows are melted in the microwave and also folded into the fruity pebbles mixture whole. MINI marshmallows are a must because you can’t stir in extra marshmallows with the regular-sized ones.
- Fruity Pebbles Cereal. You’ll want to use the original flavor of Fruity Pebbles that comes in the bright red box.
See the recipe card below for a full list of ingredients and measurements.
Helpful Equipment
You’ll need a large microwave-safe mixing bowl, a rubber spatula, and a 9×13-inch baking dish. An 8×8 square baking dish would also work, you’ll just end up with thicker bars.
How To Make Fruity Pebble Treats

Reserve 1 cup of mini marshmallows, and then place remaining marshmallows and butter into a large microwave-safe bowl.
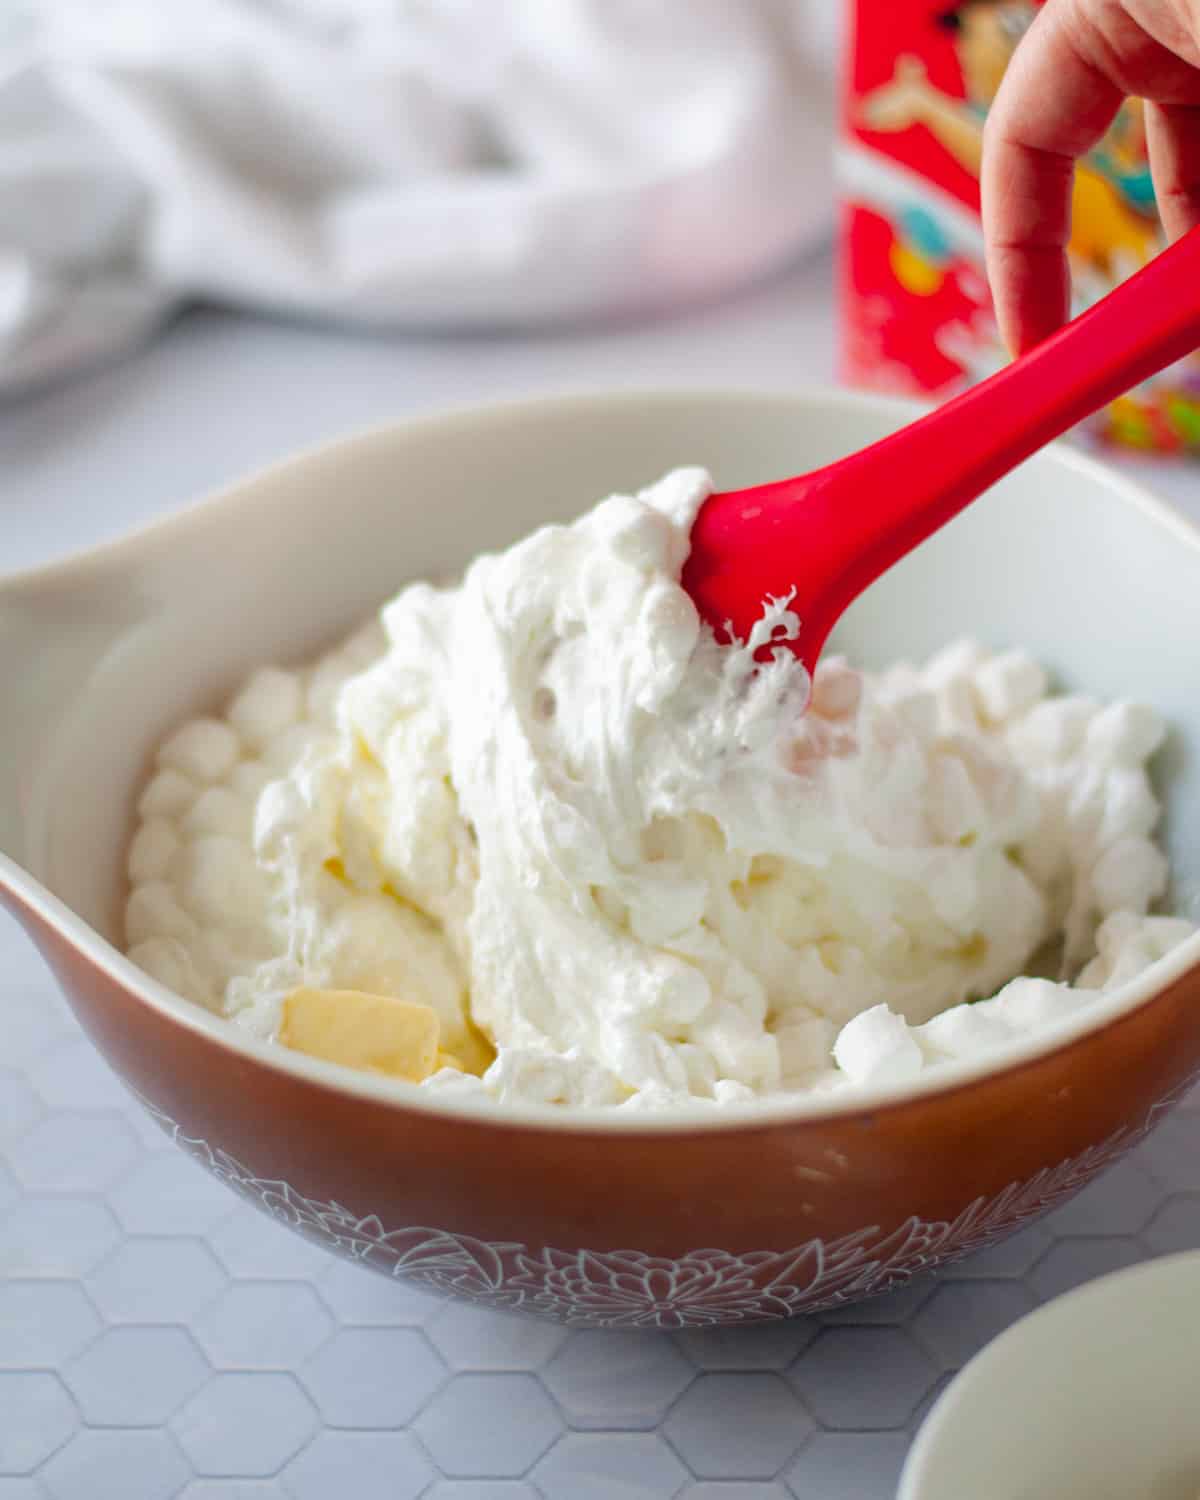
Cook for 1 minute in the microwave. Stir using a rubber spatula, and then place back into the microwave and cook for another 1 minute.
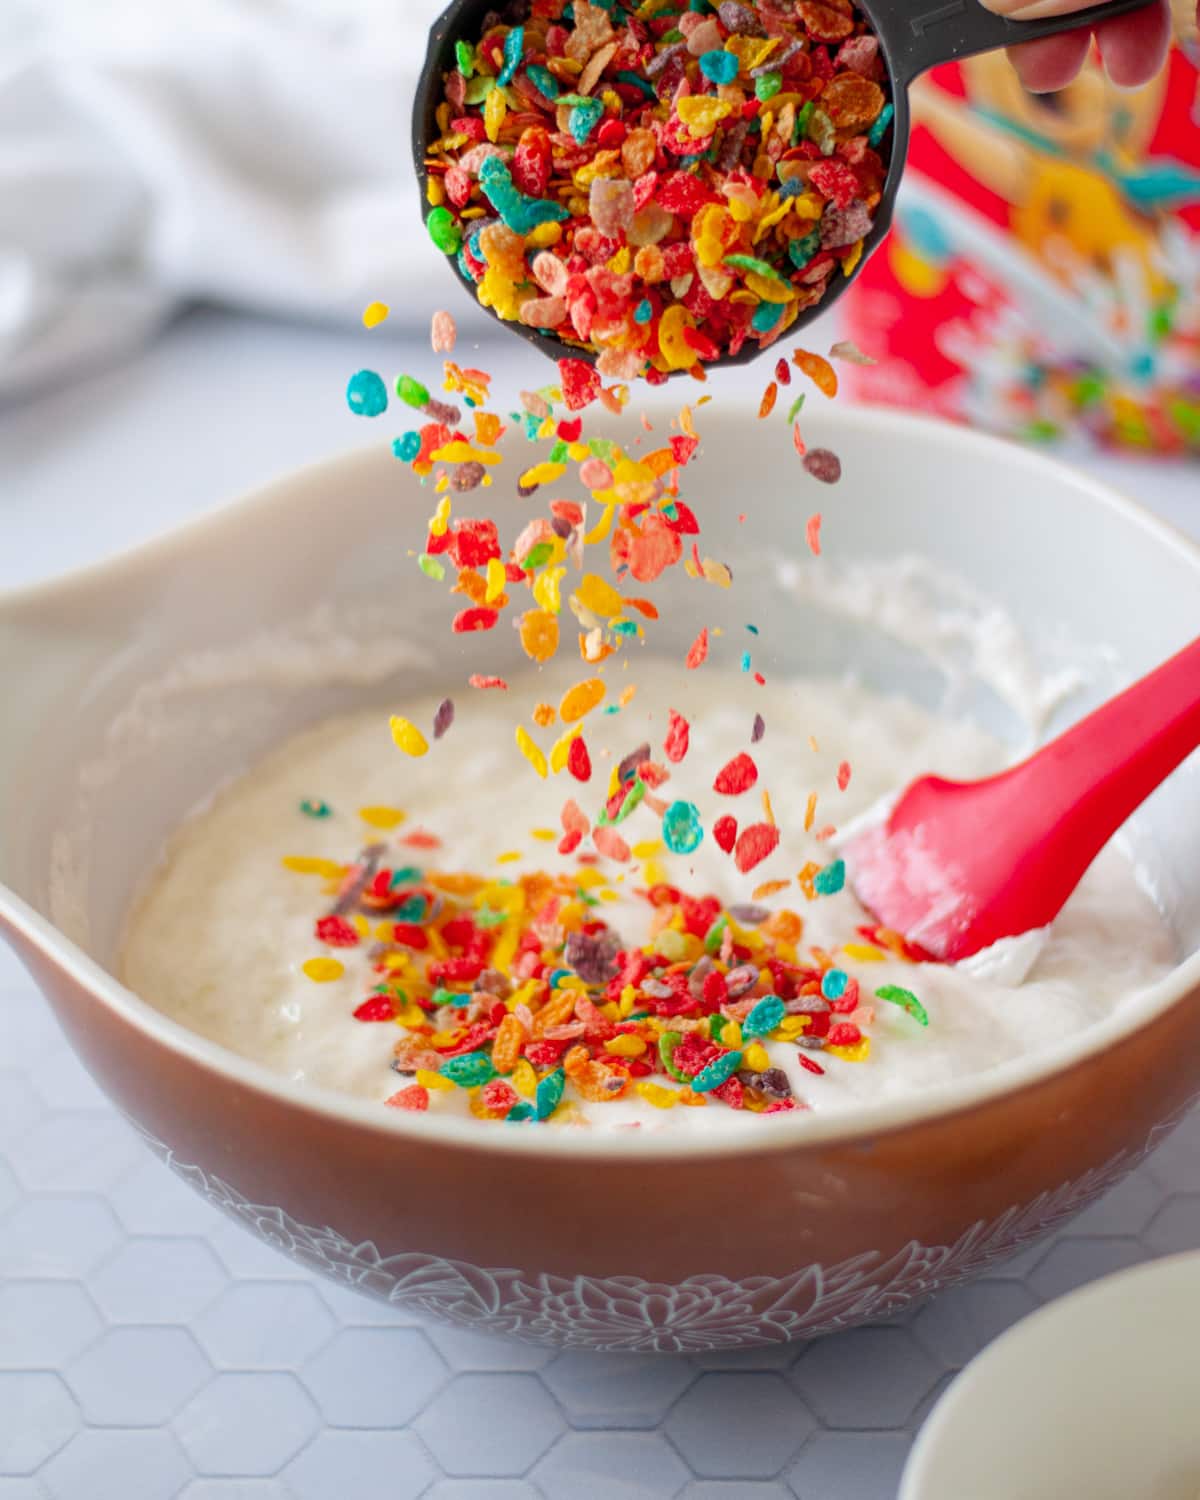
Stir again and then place half of the Fruity Pebbles Cereal into the bowl with the melted butter and marshmallow mixture.
Stir to combine.
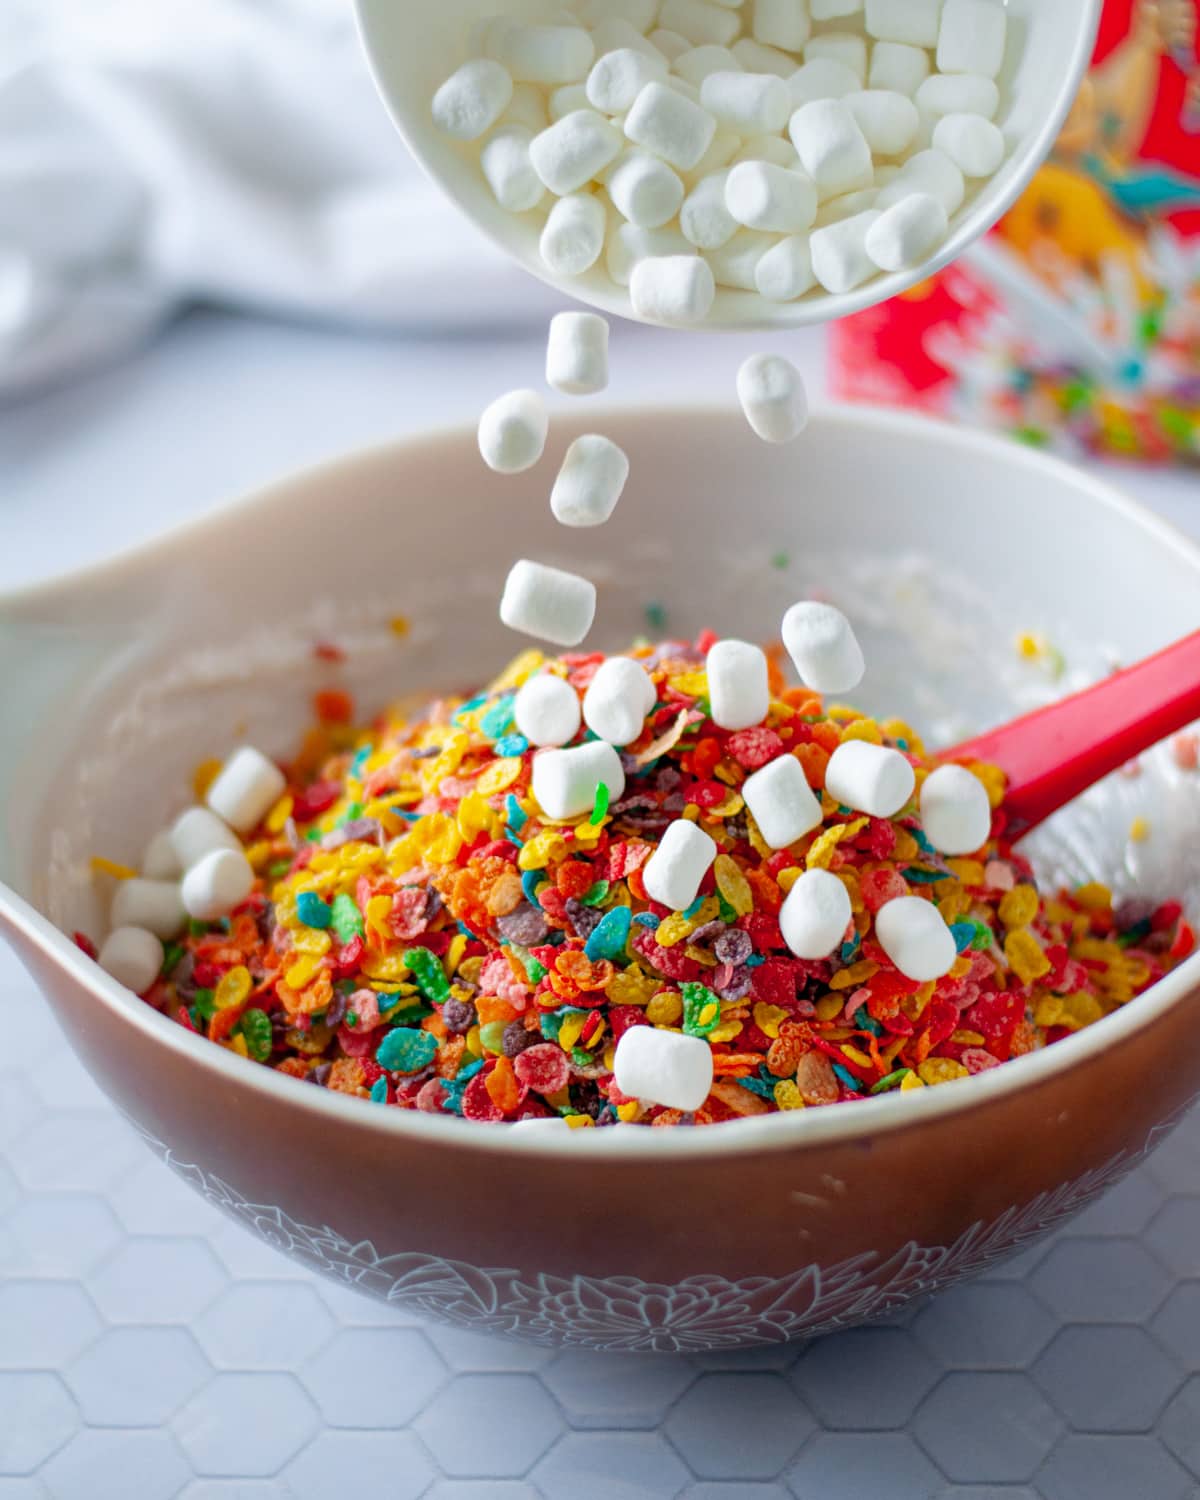
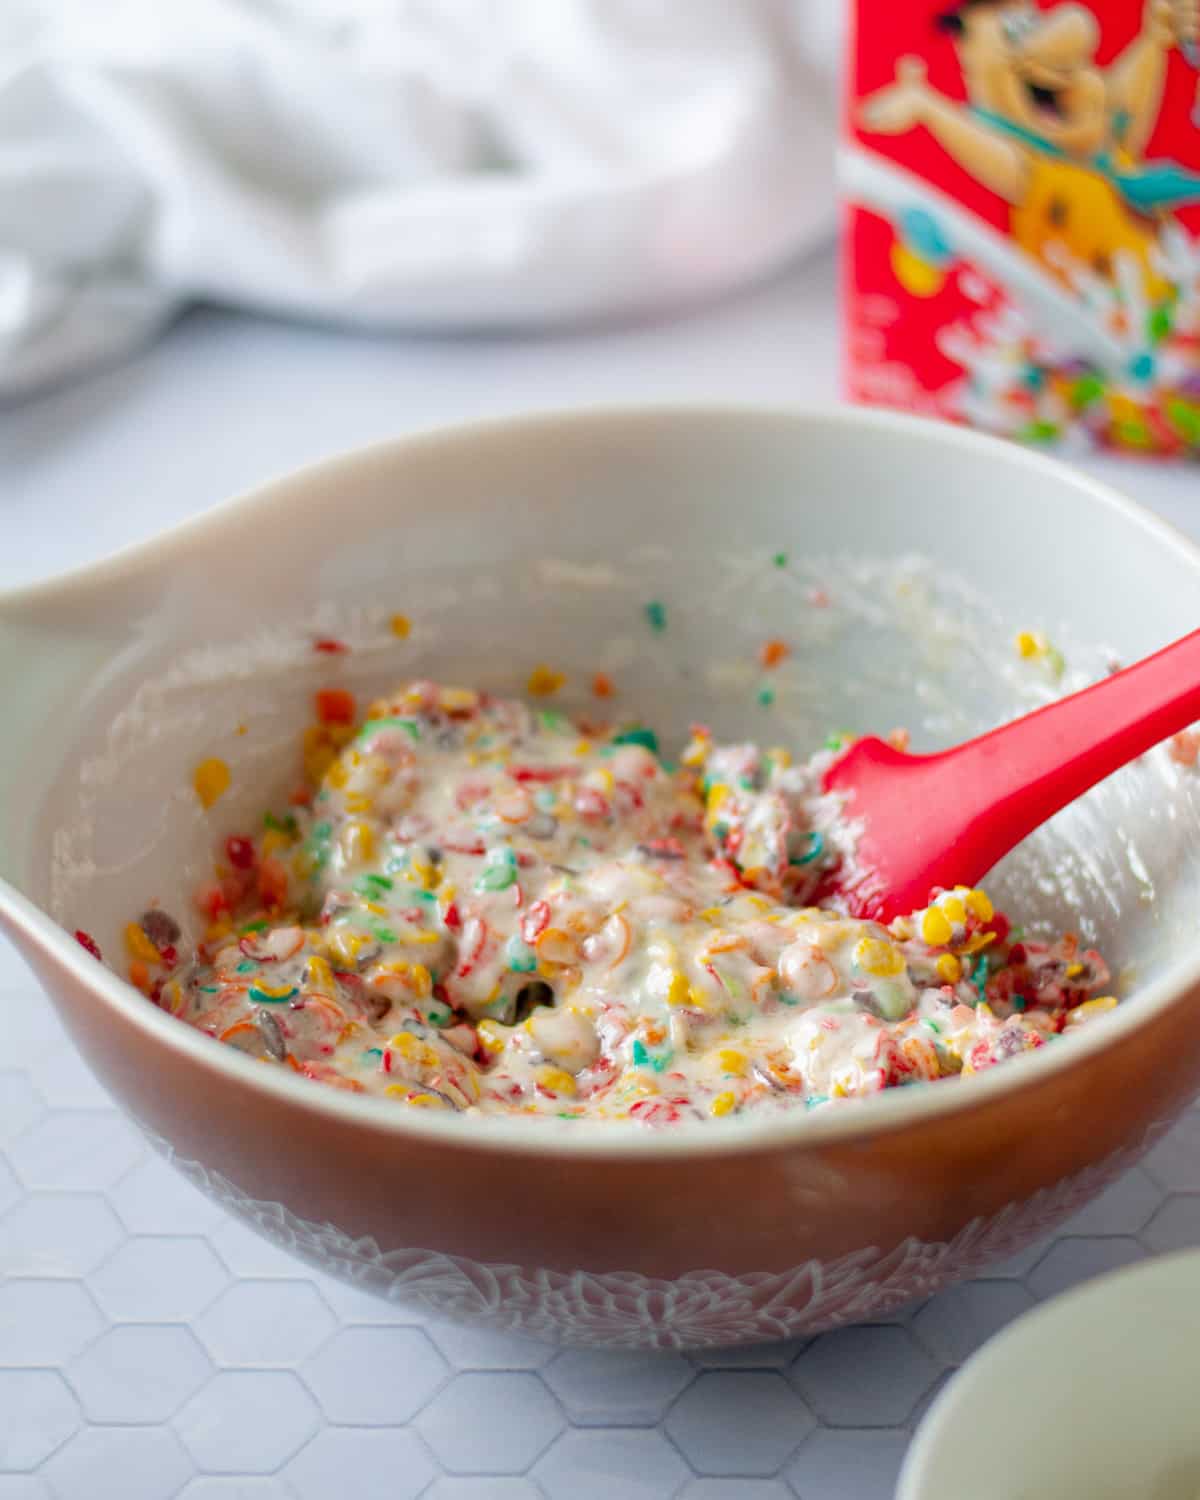
Add the remaining fruity pebbles cereal and reserved 1 cup of mini marshmallows.
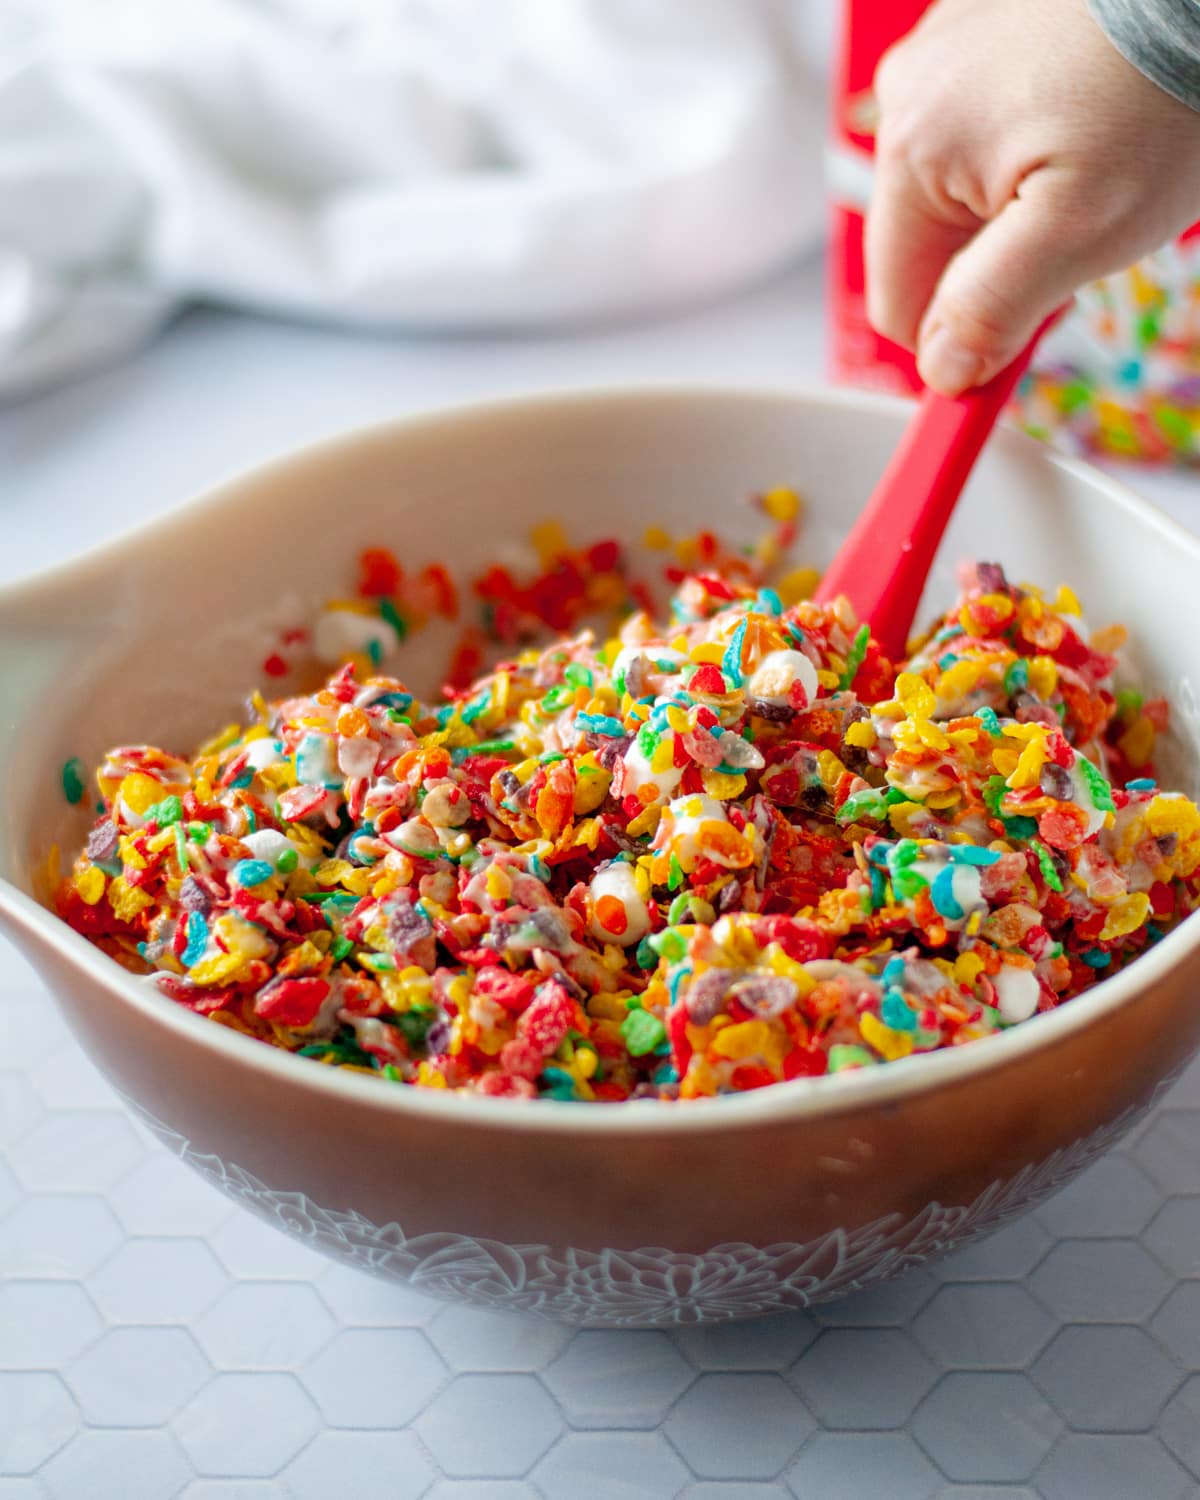
Stir to combine. Be sure all of the cereal has been coated with the marshmallow and butter mixture.
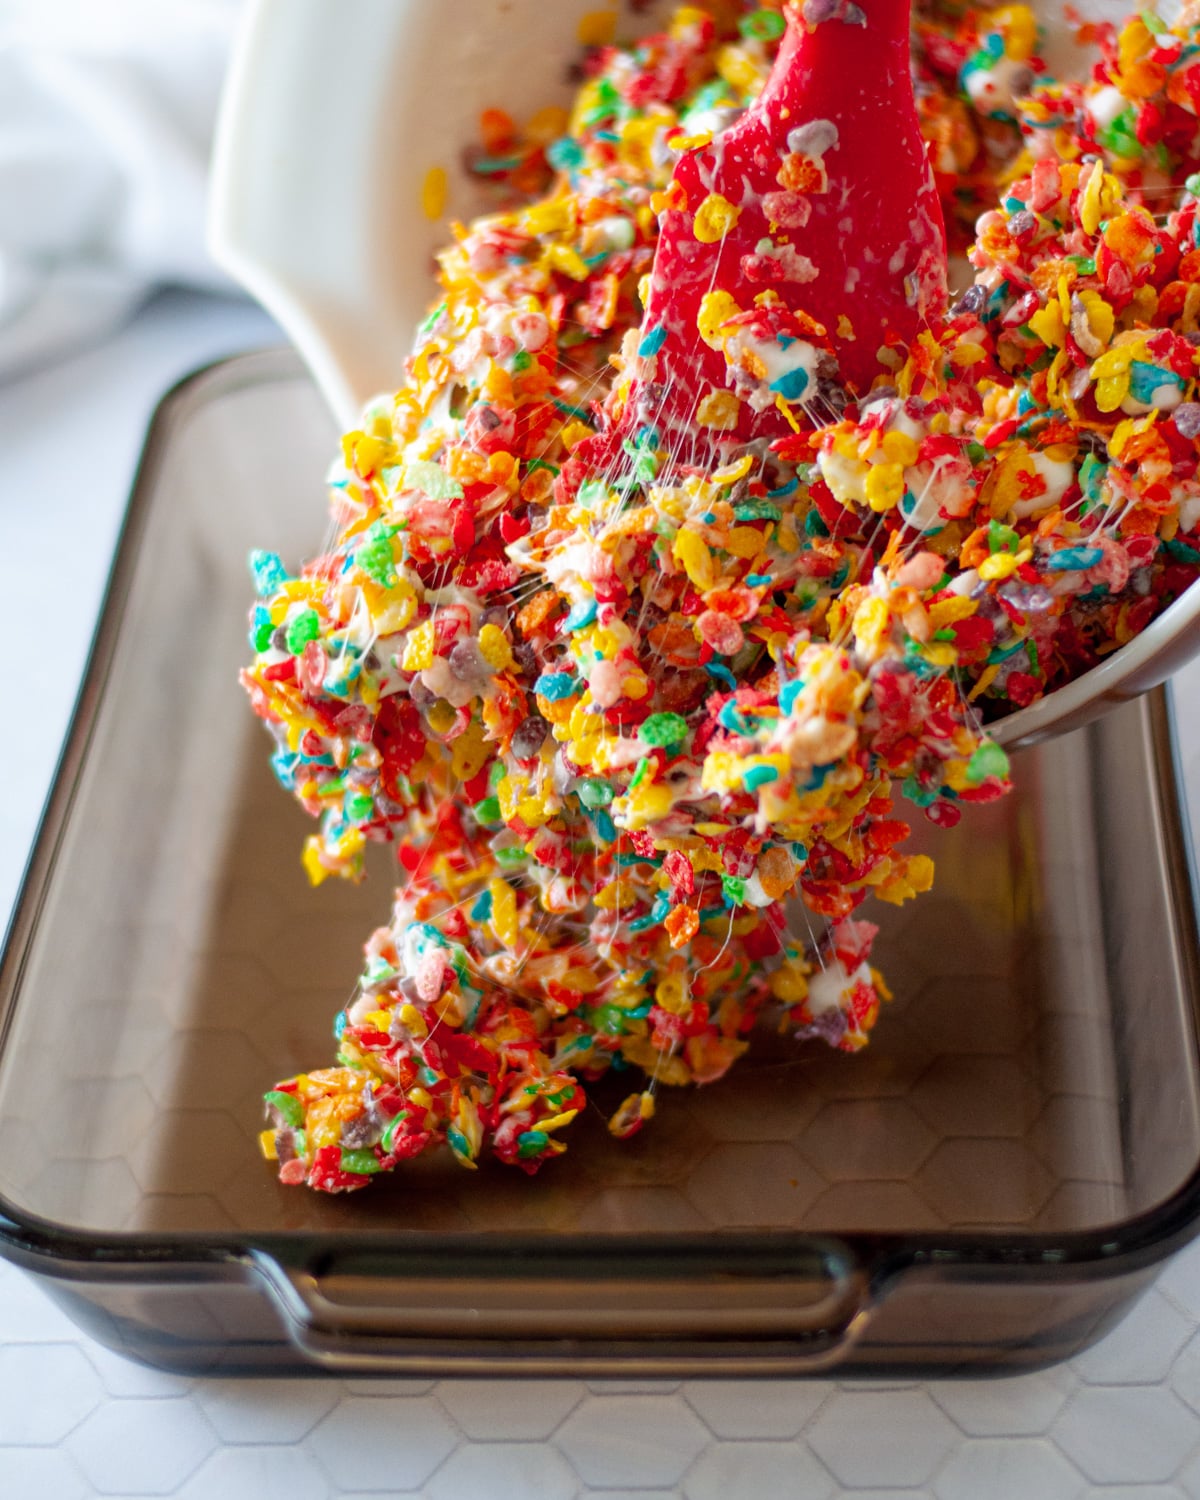
Pour mixture into a 9×13 pan and GENTLY press to push the mixture to the edge of the pan.

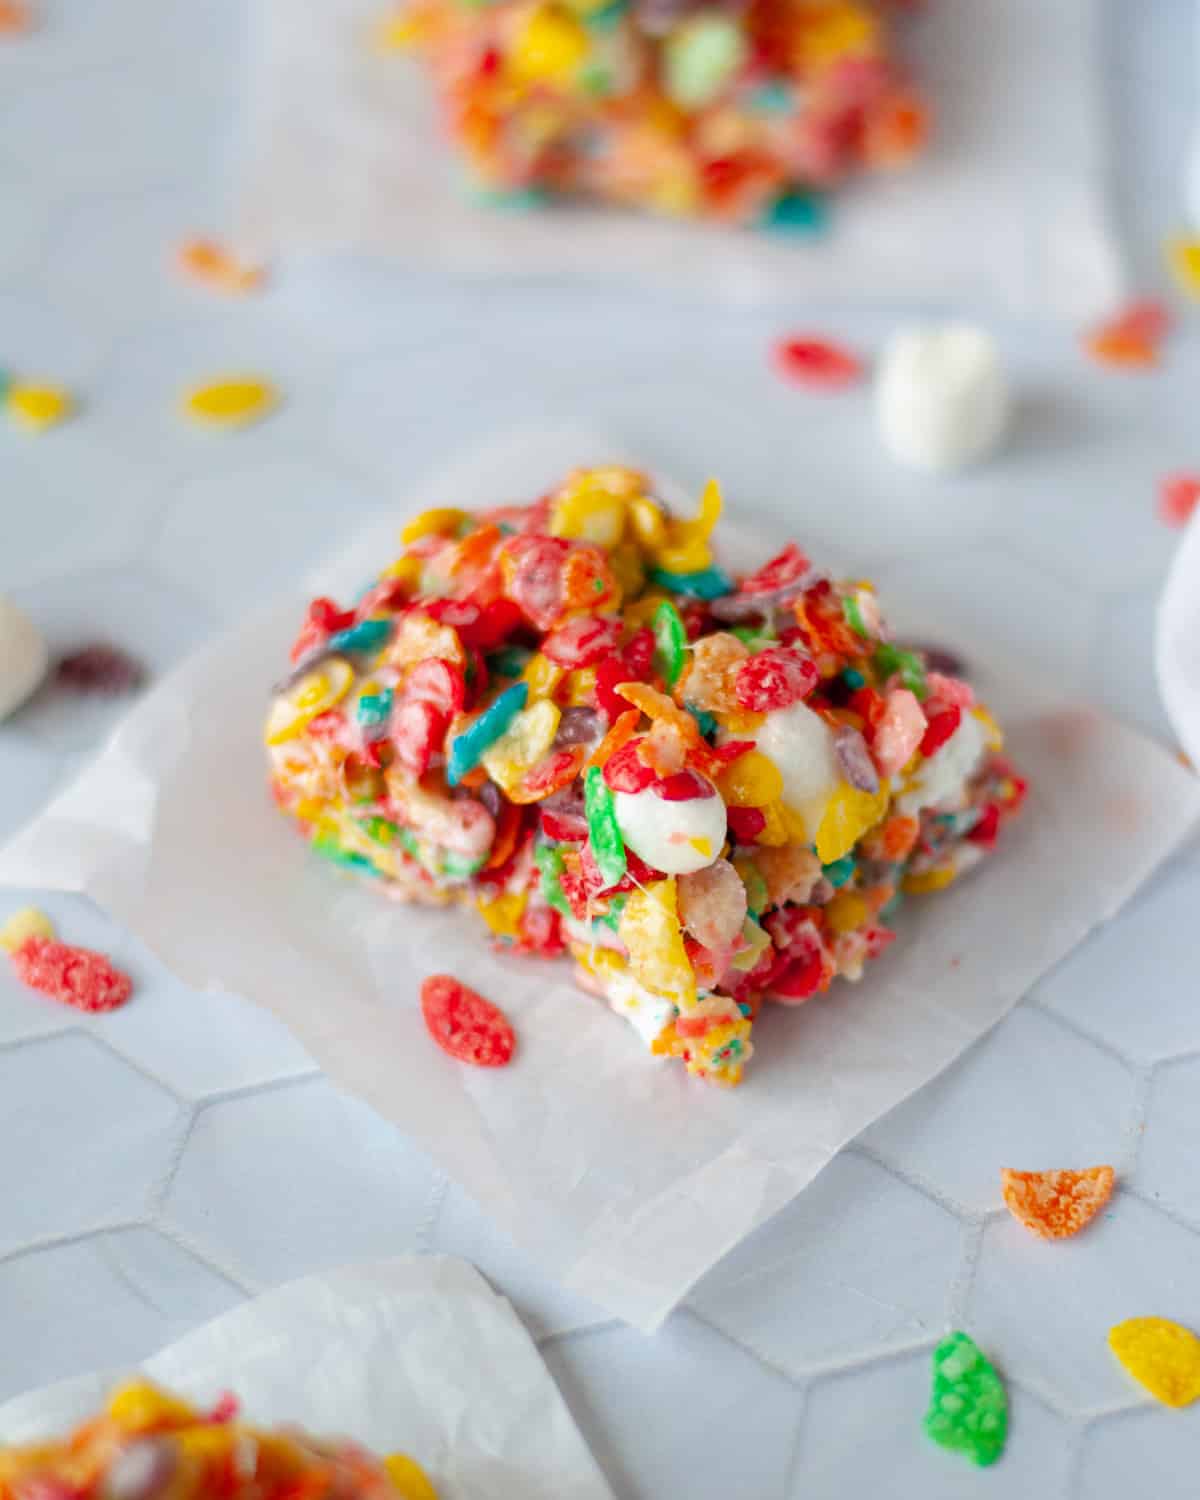
Allow to cool for at least 1 hour. Then cut and enjoy!
Fruity Pebbles Rice Crispy Treats Variations
- Replace half of the Fruity Pebbles with Rice Krispies. Cut the sweetness level a little bit by making Fruity Pebble Rice Krispie treats by simply replacing half of the Fruity Pebbles with Rice Krispies (or your favorite puffed rice cereal)!
- Add vanilla extract. Some similar recipes call for vanilla extract. I don’t think it’s necessary, but you can add a splash if you’d like!
- Use large marshmallows. If you can’t find mini marshmallows at the grocery store, you can use regular-sized, whole marshmallows. Just melt the full amount along with your butter (do not hold any back to fold in later). They’ll still be super awesome! If you do want to fold some of your large marshmallows into your mixture per the recipe, you’ll have to chop them up into smaller-sized pieces to fold into the cereal mixture at the end.
- Use the stovetop. If you don’t want to use the microwave method outlined, you can still make this recipe on the stovetop! Simply melt the butter and mini marshmallows on the stovetop in a large saucepan over low heat.
Possible Dietary Restrictions?
Post Fruity Pebbles and most brands of mini marshmallows are gluten free, making this a gluten free recipe. Unfortunately, this is not a dairy free recipe though because butter is made from milk.
Fruity Pebbles Treats should be perfectly fine for anyone with a tree nut or peanut allergy.
What to Serve with Fruity Pebbles Treats
I highly recommend serving Fruity Pebbles Rice Crispy Treats with a glass of cold milk!
Fruity Pebbles Treats Tips
- Don’t forget to reserve 1 cup of mini marshmallows to mix in at the end. Mixing in whole, unmelted mini marshmallows gives each bite an extra bit of gooey goodness!
- If you’re worried about your Fruity Pebbles Treats sticking to the pan, you can line your pan with parchment paper or lightly grease it with nonstick cooking spray or butter. I don’t line or grease the pan though and I’ve never had a problem with them sticking.
- I use a rubber scraper (silicone spatula) to press the mixture into the pan. You could also use your fingers. To do so, dip your fingers into water to prevent the mixture from sticking to your hands.
- If you choose to use the stovetop method to melt the butter and marshmallows, it’s important that you use LOW and SLOW heat. If you try to speed up the process with high heat, you’ll end up burning the sugar in the marshmallows.
- Don’t use an old, opened bag of marshmallows that have been in your cupboards since last summer. Old stale marshmallows will produce hard and stale marshmallow treats! Fresh marshmallows will give your cereal treats the soft and chewy texture we’re looking for in this recipe.
- It’s important to let your treats set for 1 hour (or longer). This will make cutting them into perfect little squares much easier!
The Secret To Soft Fruity Pebble Treats
Do NOT smash them into the pan! Pushing your mixture into your pan with a lot of force will result in hard and dense cereal bars. Gently pressing them into the pan will result in soft and airy bars.
How To Store Fruity Pebble Treats
Fruity Pebbles bars can be stored in an airtight container or zip-top plastic bag at room temperature for 3-5 days. I doubt they’ll last that long though!
They can also be stored right in the baking dish, as long as they’re tightly covered with plastic wrap or foil.
Refrigeration isn’t necessary, but it won’t hurt them if you’d like to store them in the fridge.
Fruity Pebbles Rice Crispy Treats FAQs
Rice Krispies cereal and Fruity Pebbles cereal are very similar! Both kinds of cereal are made from rice, they have a similar shape, and a similar texture. The biggest difference is the color and added fruit flavor in Fruity Pebbles!
Yes, you can make Fruity Pebbles Treats with marshmallow fluff. However, it’s not a 1:1 substitute for melted marshmallows. You’ll want to find a recipe that specifically calls for marshmallow fluff.
If your marshmallows aren’t melting properly, the most likely cause is that you may be using old, stale marshmallows. Not only will fresh marshmallows taste the best, they will melt smoothly and create that soft, gooey texture we’re looking for.
Also make sure you’re using mini marshmallows rather than large ones, as they melt more quickly and evenly.
If your marshmallows still aren’t melting after the first round in the microwave, continue heating in 30 second intervals, stirring between each one, until they’re fully melted. Every microwave is different, so yours might need a bit more time than the recipe states.
Love This Recipe? You May Also Enjoy


Fruity Pebble Treats Recipe
Ingredients
- 16 oz mini marshmallows (1 cup reserved to mix in later)
- 6 tablespoon salted butter
- 6 C Fruity Pebbles cereal
Instructions
- Reserve 1 cup of mini marshmallows, and then place remaining marshmallows and butter into a large, microwave-safe mixing bowl.
- Cook for 1 minute in the microwave. Stir using a rubber spatula, and then place back into the microwave and cook for another 1 minute.
- Stir again and then place half of the Fruity Pebbles Cereal into the bowl with the melted marshmallows. Stir to combine.
- Add the remaining fruity pebbles cereal and reserved 1 cup of mini marshmallows. Stir to combine, ensuring all of the cereal has been coated with the marshmallow and butter mixture.
- Pour mixture into a 9×13 pan and GENTLY press to push the mixture to the edge of the pan.
- Allow to cool for at least 1 hour. Then cut and enjoy!
Notes
- Try different cereals. You can make this exact recipe using Cocoa Pebbles, Cheerios cereal, or a mixture of half Fruity Pebbles and half Rice Krispies cereal.
- Add vanilla extract. If desired, add a splash of vanilla extract to the melted marshmallow and butter mixture.
- Use large marshmallows. Ok to use large marshmallows if desired. Melt full 16oz with butter in lieu of holding any back to mix in at the end.
- Use the stovetop. If you don’t have a microwave, you can still make this recipe! Simply melt the butter and mini marshmallows on the stovetop in a large saucepan over low heat.
Amanda says
The chewy and gooey factor was amazing!! Super addictive in the best way!
Meredith says
I’m so happy you loved these fruity pebble treats too Amanda! Thanks for giving the recipe a try!
David says
I mean, what’s not to like? Pebbles of any variety are superior to Krispies. These are no exception! Very gooey and chewy. Love em!
Meredith says
So happy to hear you loved these too! Thanks for giving the recipe a try.
Kurt Mueller says
A delicious treat! The perfect combination of crunch and gooey marshmallow. Had to stop myself from eating the whole tray in one sitting!
Meredith says
🙌 yaaaaas, it’s definitely hard to stop after 1 bar! glad you love them too.
Vivienne says
love this recipe! Really kicks the Rice Krispie bar up a notch.
Meredith says
so happy to hear you love it too! thanks for giving these fruity pebbles bars a try 🙂